Author: Adrienne Gaskell
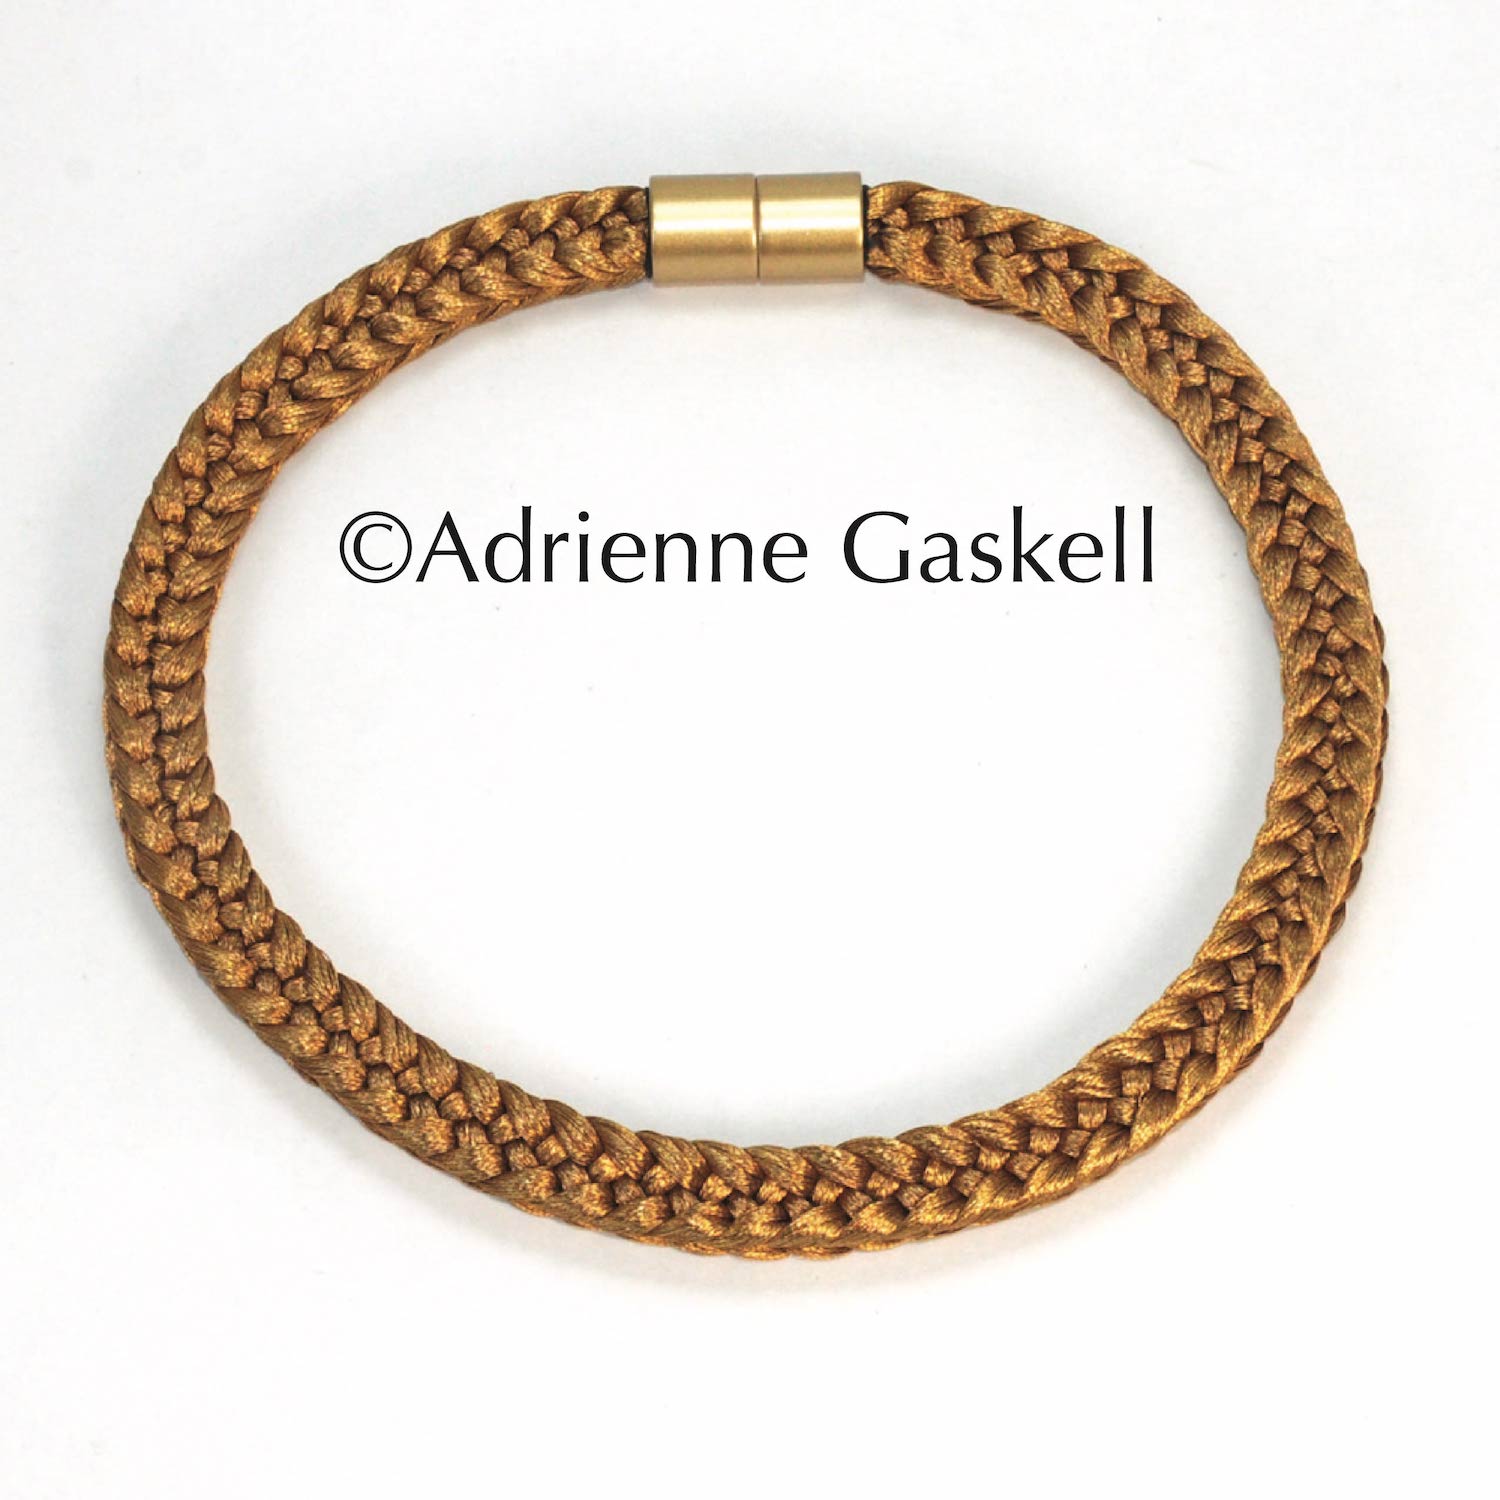
Beads as Fiber (a.k.a. CBB)
This project was featured in Bead & Button Magazine as Elegant Ombre Braids, December 2019. This bracelet achieves dimensional impact by stacking and then joining three separate braids together. Czech teardrop beads with a rainbow AB finish are the crowning glory.
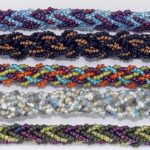
Drop Fringe Patterns
This project was featured in Bead & Button Magazine as Elegant Ombre Braids, December 2019. This bracelet achieves dimensional impact by stacking and then joining three separate braids together. Czech teardrop beads with a rainbow AB finish are the crowning glory.
Hira-Kara Necklace
This project was featured in Bead & Button Magazine as Elegant Ombre Braids, December 2019. This bracelet achieves dimensional impact by stacking and then joining three separate braids together. Czech teardrop beads with a rainbow AB finish are the crowning glory.

Japanese Fibers – How to Start a Braid
Japanese fibers generally come in a package at pre cut lengths of 2.8m or 2.7m. When using these multi-thread fibers you can start your braid with the full length if you want to make a long braid at 5 to 6 ft. Or, for a shorter braid, the fiber can be folded. It is not advised to cut these fibers, instead follow the instructions below for making a short braid. Setting up to Braid a Full Length of Japanese Multi-Thread Silk Tie a knot at the end of the silk. Gather all the silk together that will be used in the braid and tie an overhand knot as close to the end of the silk as possible. Be sure to catch all the threads in the knot. Mine is about 2 in. (5cm) from the end. Have on hand a piece of waxed linen, about 10 in. (25cm) in length, or some other strong cord. This should be no more than about 0.5 mm. Place the fiber over a thin chopstick or knitting, half on each side. 3. Wrap the waxed linen around the silk just under the knitting needle and tie an overhand knot at the center of the waxed linen. 4. Wrap the tails of the waxed linen over the the knitting needle working from the top to the bottom as shown. 5. Bring the cords together and tie an overhand knot on top of the first knot. 6. Tighten the knot and tie another overhand knot in the opposite direction to make a square knot. 7. Bring the waxed linen tails together and tie an overhand knot to make a loop. This can be used to hang the counter weight. Setting up to Braid a Short Length of Japanese Multi-Thread Silk A 2.8m length of Japanese fiber will make a braid at least 60 in. (1.5m). If you are making a braid for jewelry obviously this will be much longer than you want. To maximize the fiber, I fold mine in thirds. I will prep half the fiber needed for the braid and then fold it over a chopstick or thin knitting needle. Once folded the amount of fiber will be double. Fold the fiber over the chopstick at the 1/3 point. This will make one half at 36 in. (90cm) and the other half at 72 in. (180cm). Follow steps 3 – 7 above and secure the fiber to the chopstick. DO NOT cut the extra length until after you have finished the braid. Once the braid is finished you may end up with more than 36 in. (90cm). My braid below is tied off at 20 in. (50cm). Tie off the ends of the ropes as shown using slip knots. Then, I left a couple of inches beyond the tie and cut the longer warps. The length of the unused portion of fiber is 40 in. (100cm). This will be enough to make another necklace at least 20 inches. Make slip knots in the ends of the freshly cut ropes before storing. Write a note on your storage bag that says how many ropes and their length.
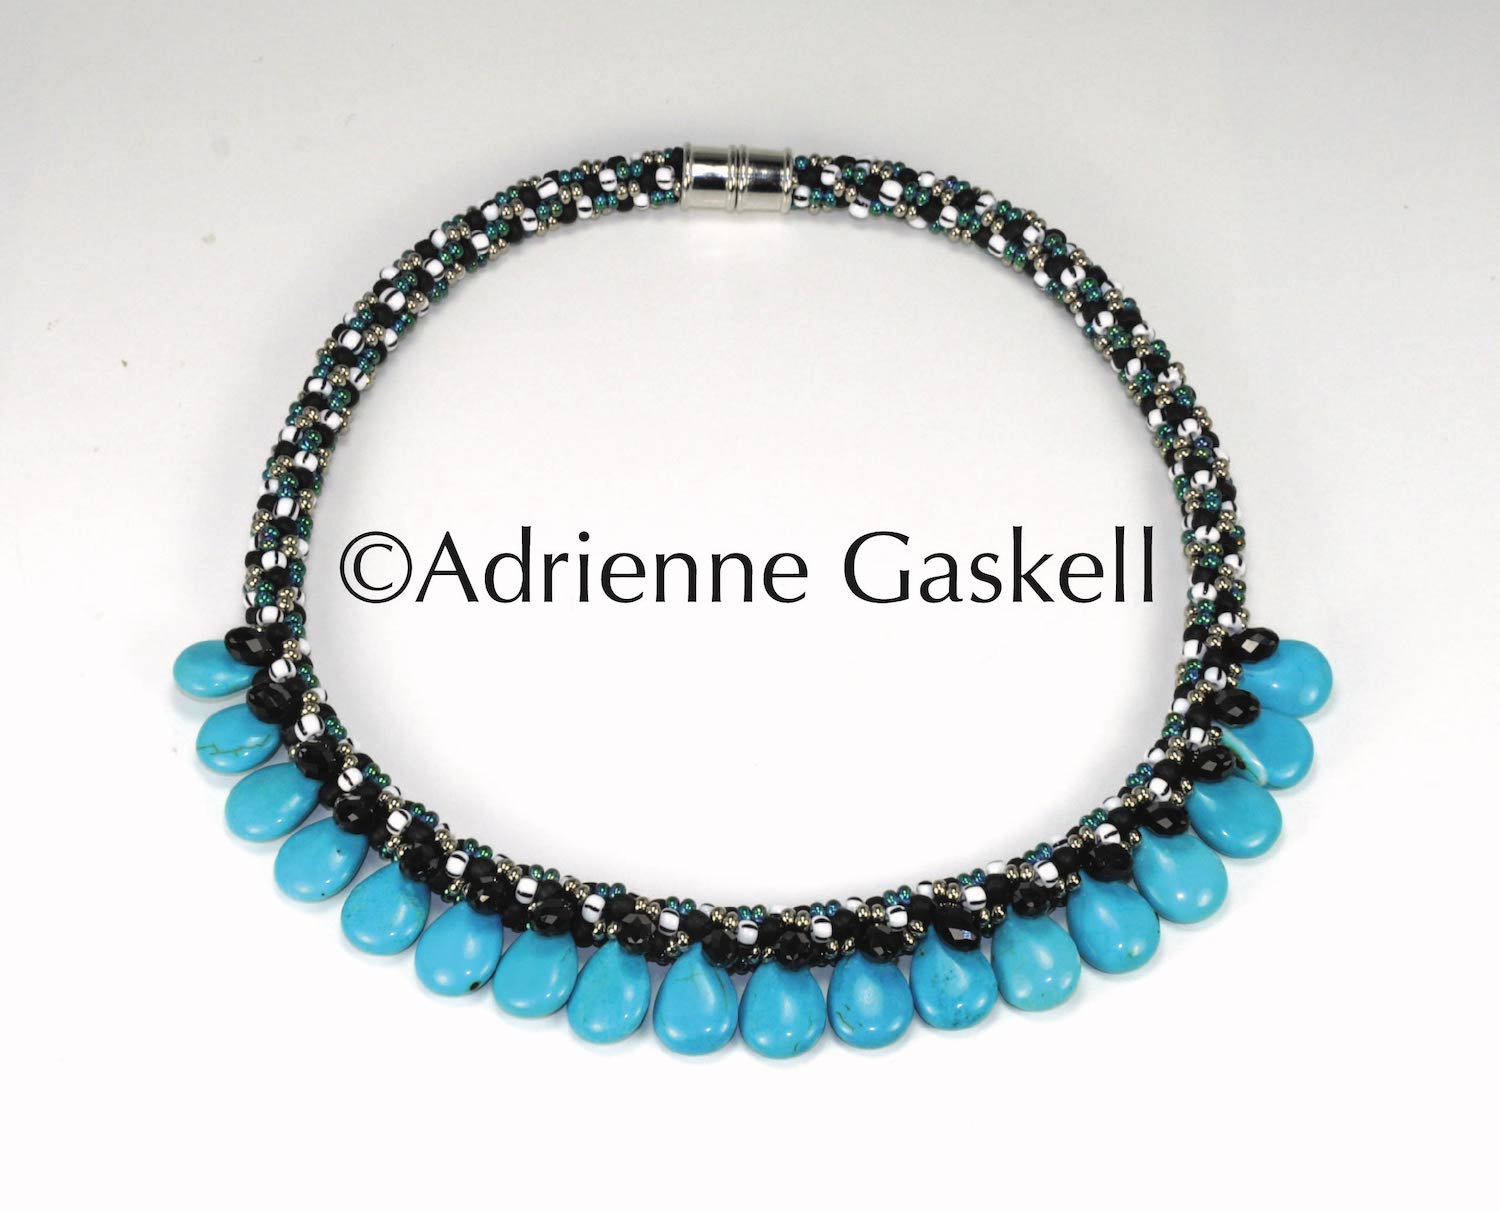
Teardrop Necklace
This project was featured in Bead & Button Magazine as Elegant Ombre Braids, December 2019. This bracelet achieves dimensional impact by stacking and then joining three separate braids together. Czech teardrop beads with a rainbow AB finish are the crowning glory.
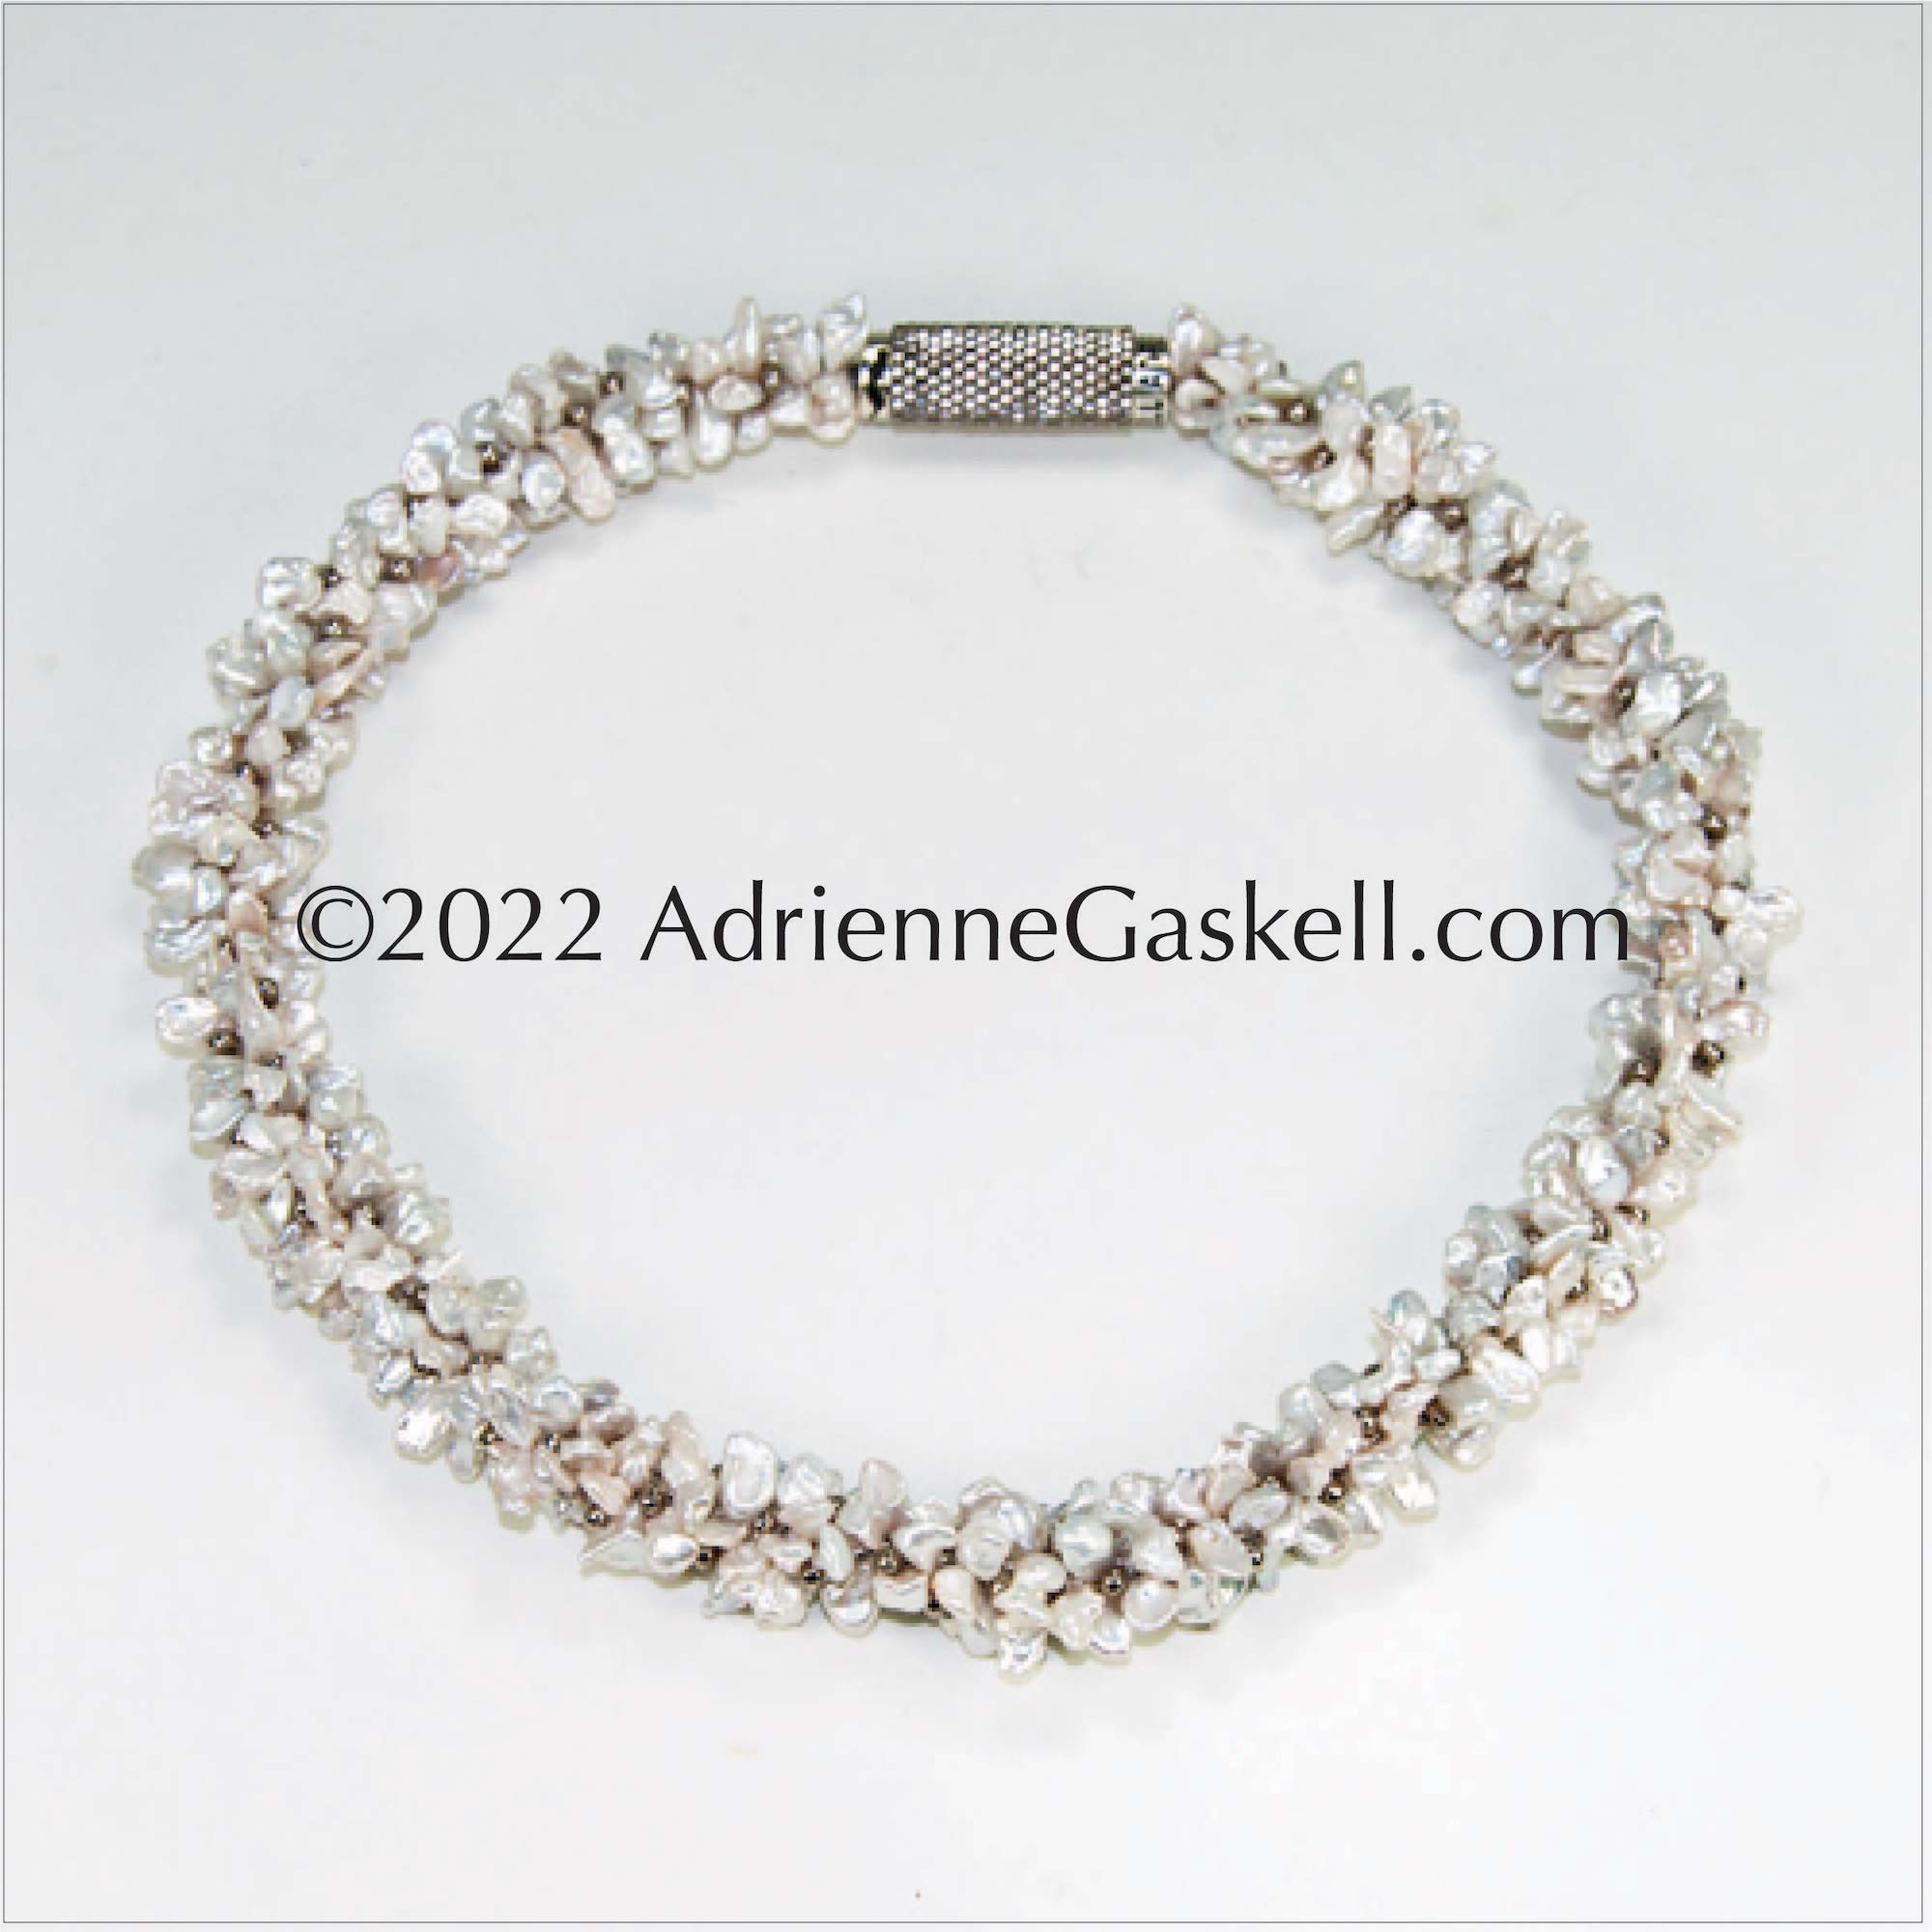
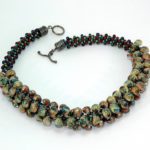
Keshi Pearl Necklace
This project was featured in Bead & Button Magazine as Elegant Ombre Braids, December 2019. This bracelet achieves dimensional impact by stacking and then joining three separate braids together. Czech teardrop beads with a rainbow AB finish are the crowning glory.
Kumi-U Club – Changes for 2022
2021 was a great year for Kumi-U members. Every Wednesday Adrienne hosted Zoom meetings on a variety of kumihimo topics. These meetings featured live demonstrations, guest hosts and lively Q&A sessions. In a end of year survey Kumi-U club members requested more in-depth learning opportunities as well as the ability to work independently with on-demand content. Although we all enjoyed getting together each week the reality was that not everyone could make the sessions on a regular basis. So, in an effort to change with the times yet continue to offer great content, there will be some changes for 2022. Exciting Changes for Kumi-U in 2022 – More Learning – Increased Flexibility What’s the Big Change? Instead of weekly meetings, there will be a “live with Adrienne” 1.5 to 2-hour mini-class on the 1st Wednesday of every month. During these classes Adrienne will teach in-depth projects that use traditional techniques as well many of her innovations. Students will have access to supply lists, instructions, the live Zoom class with an interactive Q&A, and the after-the-class Zoom recording. Important – We will no longer be meeting every week. In place of the weekly sessions, members will have access to monthly project tutorials that can be worked at their own pace on-demand. What does this cost? The monthly recurring membership is $20 and includes: Live attendance at the 1st Wednesday mini-class including supply list, instructions and the Zoom recording. Access to all Kumihimo Wednesday recordings from 2021. Monthly on-demand tutorials with access to the growing library of tutorials. Priority registration to Adrienne’s other classes. “Early” notification and purchase of kits as they come available. Kumi-U Club FAQs Do I have to have a recurring $20 monthly membership to attend the 1st Wednesday mini class? No, the mini classes are available a la carte for $20. If the purchase is made prior to the live Zoom session then you will be able to attend the live session. You will have lifetime access to the instructions, supply list and the Zoom recording. Note: Annual Memberships will have full access to Kumi-U activities including mini classes until expiration date. How long is my Kumi-U Club Annual Membership valid? Annual membership are valid until their expiration date and will not renew. You should receive an email notice when your membership expires with a link to sign up for the monthly membership. You can use this link if you don’t receive an email. You can check your expiration date under your account on the website. How do members access the Monthly mini classes? Date & Time: The 1st Wednesday of each month at 7pm Eastern Time. Plan on 1 1/2 to 2 hours. The Zoom link will be accessed on the Kumi Wednesday page of the website, (the same as for 2021 Kumihimo Wednesdays). Project instructions and supply list will be under Courses at the top right hand side of the website. These will be posted a few days in advance of the mini class. The zoom recording will also be under the course. The recording will be posted within 48 hours after the mini class. What are on-demand project Tutorials? These tutorials are on the website on the Project Tutorials page. They include complete instructions with supply lists for fiber and beaded braid projects. New project tutorials will posted each month and will continue to be posted throughout the year. As long as you have a current Kumi-U $20 monthly membership you will have access to the growing library of the project tutorials. If I was a member in 2021 and I choose not to have a recurring monthly membership in 2022 will I still be able to view the 2021 Zoom meeting recordings? Yes, you will have lifetime access to any recordings that occurred during your membership period. Simply make a request to view specific recordings at [email protected]. Is it possible to view one of the 2021 Zoom meeting recordings if I didn’t have a membership in 2021? Yes, there are two ways to be able to view these recordings. 1. All Kumi-U members with an active $20 monthly membership have access to these recordings. 2. Anyone can purchase these recordings for an $8 one time fee and have lifetime access.

50 – 50 Pattern with Variations
This project was featured in Bead & Button Magazine as Elegant Ombre Braids, December 2019. This bracelet achieves dimensional impact by stacking and then joining three separate braids together. Czech teardrop beads with a rainbow AB finish are the crowning glory.