Author: Adrienne Gaskell
Bead Placement Patterns
This project was featured in Bead & Button Magazine as Elegant Ombre Braids, December 2019. This bracelet achieves dimensional impact by stacking and then joining three separate braids together. Czech teardrop beads with a rainbow AB finish are the crowning glory.

Serpentine Swirl Necklace
This project was featured in Bead & Button Magazine as Elegant Ombre Braids, December 2019. This bracelet achieves dimensional impact by stacking and then joining three separate braids together. Czech teardrop beads with a rainbow AB finish are the crowning glory.
Using Gemstones in Kumihimo
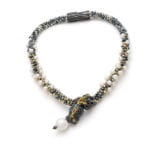
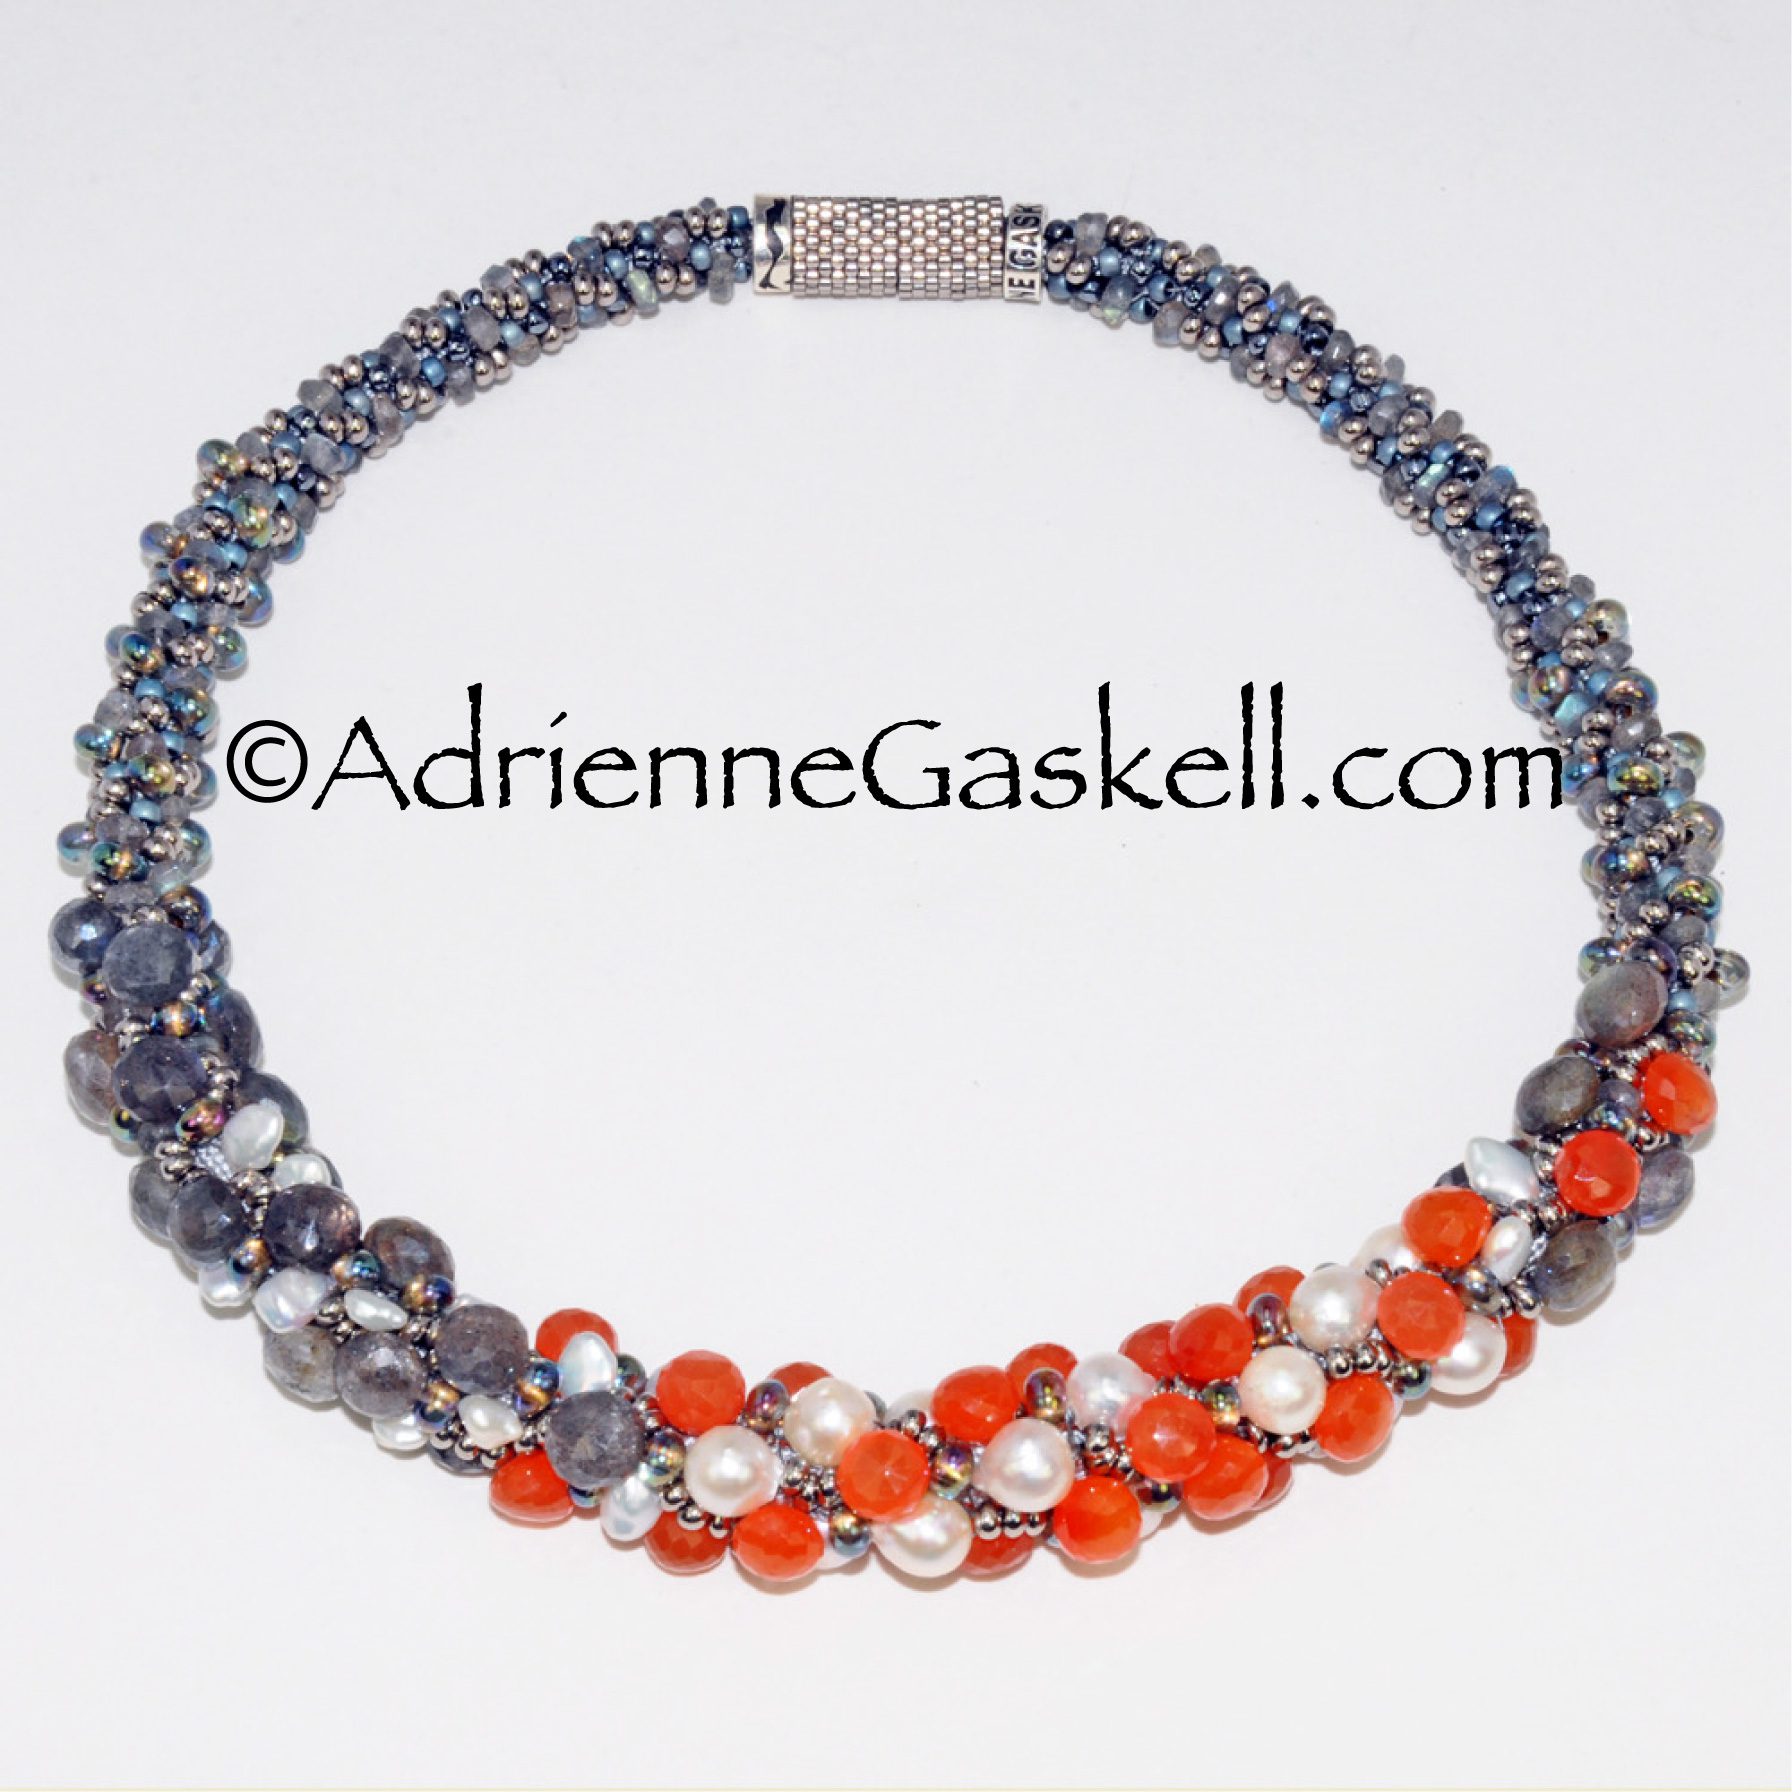
Gemstone beads elevate your beaded kumihimo designs to the realm of sophisticated jewelry. However, it can also be difficult to use gemstones in braids. Large center drilled beads in general pose a lot of challenges to working with beaded kongoh (round braid). I have found that using top drilled beads solve many problems associated with braiding with large beads. In the gemstone world the most common top drilled beads are teardrops. Although there are lots of sizes, shapes and variations they can generally be grouped into three categories: briolette, front drilled teardrop and side drilled teardrop. Sparkly gemstones can be very seductive when viewing them on the strand, however they may not be the best option for using in a beaded braid. Generally gemstone beads are hand drilled and so the holes are rarely straight. If the holes are not perfectly straight and aligned with the others when they are hanging along the bottom of a braid they can be as unattractive as crooked teeth. It is fairly obvious when looking at the strand below but often gemstones are tightly bunched together on the strand without a spacer between them and so it is usually not as apparent. So with all these issues how can you use gemstones in your braided jewelry? Don’t despair there is another option – gemstone onions! What is a gemstone onion? This is a less common shape for gemstones so you may not have ever come across them. The stone cutters in India are the only ones that make this shape of gemstone bead, and over the years they have become more rare. Like teardrops, gemstone onions are top drilled. But the shape is completely round, not at all like a teardrop bead. Imagine a round ball with a point at the top. It really does look like an onion! This shape makes them ideal for using in kumihimo beaded braids as the tip of the gemstone is hidden in the braid and the full round part is what you see. And if the holes are not drilled straight or are inconsistent from bead to bead – it will not be seen in the finished braid. Just the lovely round gemstone will be visible, no worries of unsightly crooked teeth! Over the years I have established a great relationship with a gem cutter from India which has afforded me the opportunity to have gemstone onions made from some of my favorite gems. Many of the onions on my websites are made especially for me and are not available from any other supplier. Keep in mind – this means they are always in limited supply and prices may vary from one shipment to the next. So, if you see something you like, don’t hesitate, it may not be available again! See what is currently in stock Pattern for Onion Necklace Most people are surprised at how easy it is to make a gemstone necklace. So, I hope you will try this simple pattern for my golden rutilated quartz necklace. Obviously you don’t have to use rutilated quartz, you can use any gemstone onions you wish. You can also reduce the amount of onions. Simply make up the difference with the 8º bronze metallic beads on each side of the onions. I designed this using 8º seed beads for the base braid that that you don’t even need a core. Download PDF Gemstone Necklace Instructions How to use Beading Wire Gemstone onion beads present two challenges when considering braiding cords, 1) the holes are usually tiny and 2) the holes have sharp edges. So, I recommend using very thin beading wire for the cords that will carry the gemstones. Beading wire has a core of stainless steel wire which is what makes strong and difficult to break. Although you want to use something that will not break so also want something that is supple and not stiff. So I recommend to use a very thin diameter (about 0.18 in.) with 49 strands. The number of strands does not affect the diameter of the wire just the flexibility. If you think about it it makes perfect sense, the thinner the stainless steel wires the the more flexible they will be, thicker wires are more stiff. Securing Beading Wire Another important thing to know about beading wire is how to properly secure the ends. When I first started using beading wire I was having a problem getting the knots to stay tight. So I contacted one of the developers at Beadalon to see what they would recommend. They said to use super glue, but not in the way you would normally use it. Please keep reading. The inner steel wire is covered in a nylon coating and when super glue is applied to the nylon a chemical reaction occurs that causes the nylon to melt slightly and fuse to itself. So when a knot is tied the nylon that is overlapping itself will become fused together. It is important to know that the chemical reaction takes 15 minutes. That’s right, we are use to super glue creating an instant bond when used as a glue, but in this case you must wait the full 15 minutes for the knot to be fused to itself and for it to be secure. I do the gluing while the braid is still on the marudai or disk as this helps keep a tight tension on the cords while working. If using a disk, tie a square knot with the three pairs of SLon/Clon cords and then, lastly, the beading wire cords. Put each set of cords back in their slits after tying the square knot to keep them tight. If using a marudai, remove the tama from the first set of CLon/SLon cords and then tie a square knot. Tape the cords to the marudai mirror with painter’s tape back in their position. Repeat with the next two sets of CLon/SLon cords. Lastly tie a square knot with the beading wire cords and tape them to the marudai mirror. Please be careful not to get the super glue into your braid. You only need a small drop. I don’t like to apply the glue directly from the tube as I’m worried more will come out than expected or needed. Instead, I put a drop on a small plastic bag and use the tip of a toothpick to apply the glue. Another amazing fact about super glue, when the liquid glue is resting on a plastic bag it will stay wet for hours. I know, I was surprised too, I always thought of it as drying instantly. I hope this encourages you to try using gemstones in your braided jewelry designs. Enjoy your braiding journey, wherever it leads.

Japanese Fibers 101
This video should answer all your questions about using and braiding with Japanese pre-cut fibers, even some you didn’t know to ask. ©2025 Adrienne Gaskell • These instructions are for your personal use only. Any reproduction, sharing, or teaching of this content, including instructions, videos, demonstrations, or photos, without Adrienne Gaskell’s written consent is prohibited.

Organize and Get Creative
I think of myself as fairly organized, even possibly a little O.C.D., but, wow, I’ve learned a lot from social media about how to make the most out of the space you have. Marie Kondo also had some great advice and help me learn to ‘let go’ and destash. Over the years I’ve had to be organized as I’ve been confined to a very small workroom space. Up until my recent move to Saint Petersburg, Florida my studio was barely 10 x 12 feet. Although at first the small space was a struggle, I discovered that once I embraced a organizing the space one of the unexpected benefits was that I was much more creative. I realize not everyone agrees with this principle, but even my friends who practice “flung shui” admit that they are happier in a tidy work space. My old studio space rarely looked like this pristine photo. This was staged for the NBC local news camera crew, (see the video of my 3 minutes of fame). This is where I made jewelry and housed all of my supplies – and boy do I have a LOT of stuff. You can’t see the large ceiling to floor cabinet that is packed with pearls, beads, kits, and everything I use to make my braids. Also hard to see is my bench with my torch, grinder, tumbler and all things needed for metal fabrication. So, recently while working through one of my creative blocks, I decided to take some time to do a total reorganization of my new studio. After weeks of boxing, cleaning, and getting rid of things I’ll never use again, this morning I walked into a calm and creative work space. By noon I had designs for five new necklaces, creative block gone! I think that labeling is essential to organization. There are many different ways to create labels, so choose what is best for you. I like to keep it simple – print out my own paper labels. I also really like to use photos as well as sometimes visual recognition is faster.
New Bead Storage Containers
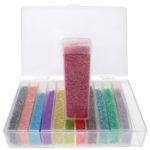
I have taken some of my at home time during COVID to do a lot of organizing and de-stashing. Its been a great lesson in what works and what doesn’t. During the process I’ve found a lot of new types of containers and systems that I really like. However, buying new stuff to store your things can be a big hit to the pocket book. So I was very happy that my bead storage system has stood the test of time and didn’t need to be replaced. In my 25 years as a full time artist I have had three different studio setups. That doesn’t include the countless attempts at making each of them more functional. This was one of the first organizational systems I purchased and it has proved to be very versatile. As my bead stash increased over the years it was easy to add more boxes to the collection. One of the things I love about these boxes is that when you store them so that they are standing on end you can easily see what is inside at a glance. My husband Carl built this simple shelf from pre-painted board from Home Depot. It sits on top a short Ikea Billy shelf and holds 48 of the storage boxes. It is at the perfect height to see all the beads at a glance. Each box holds either 12 or 24 flip top tubes – so that’s a whole lot of beads! My lighting above the shelf needs to be connected. It is really important to use a true white light, like an Ott-Light, so that you can see the correct colors of the beads. Earlier this month when I showed this system in my Kumi Wednesday Zoom meetings so many people also wanted to use this great system that I now sell it on my website. I think if you compare they are a great value. And I got a great price that I am passing on to my customers. Compare at $9.99 on Amazon. Specs and link to container with 12 boxes $6.50 Specs and link to container with 24 boxes $6.50 Important Shipping Info: For orders outside the southern regional USPS shipping area additional shipping charges may apply. If your order requires additional postage you will be contacted to approve the additional charge prior to shipping and may cancel the order if desired at that time. Postage charges may vary based on size of package and destination.
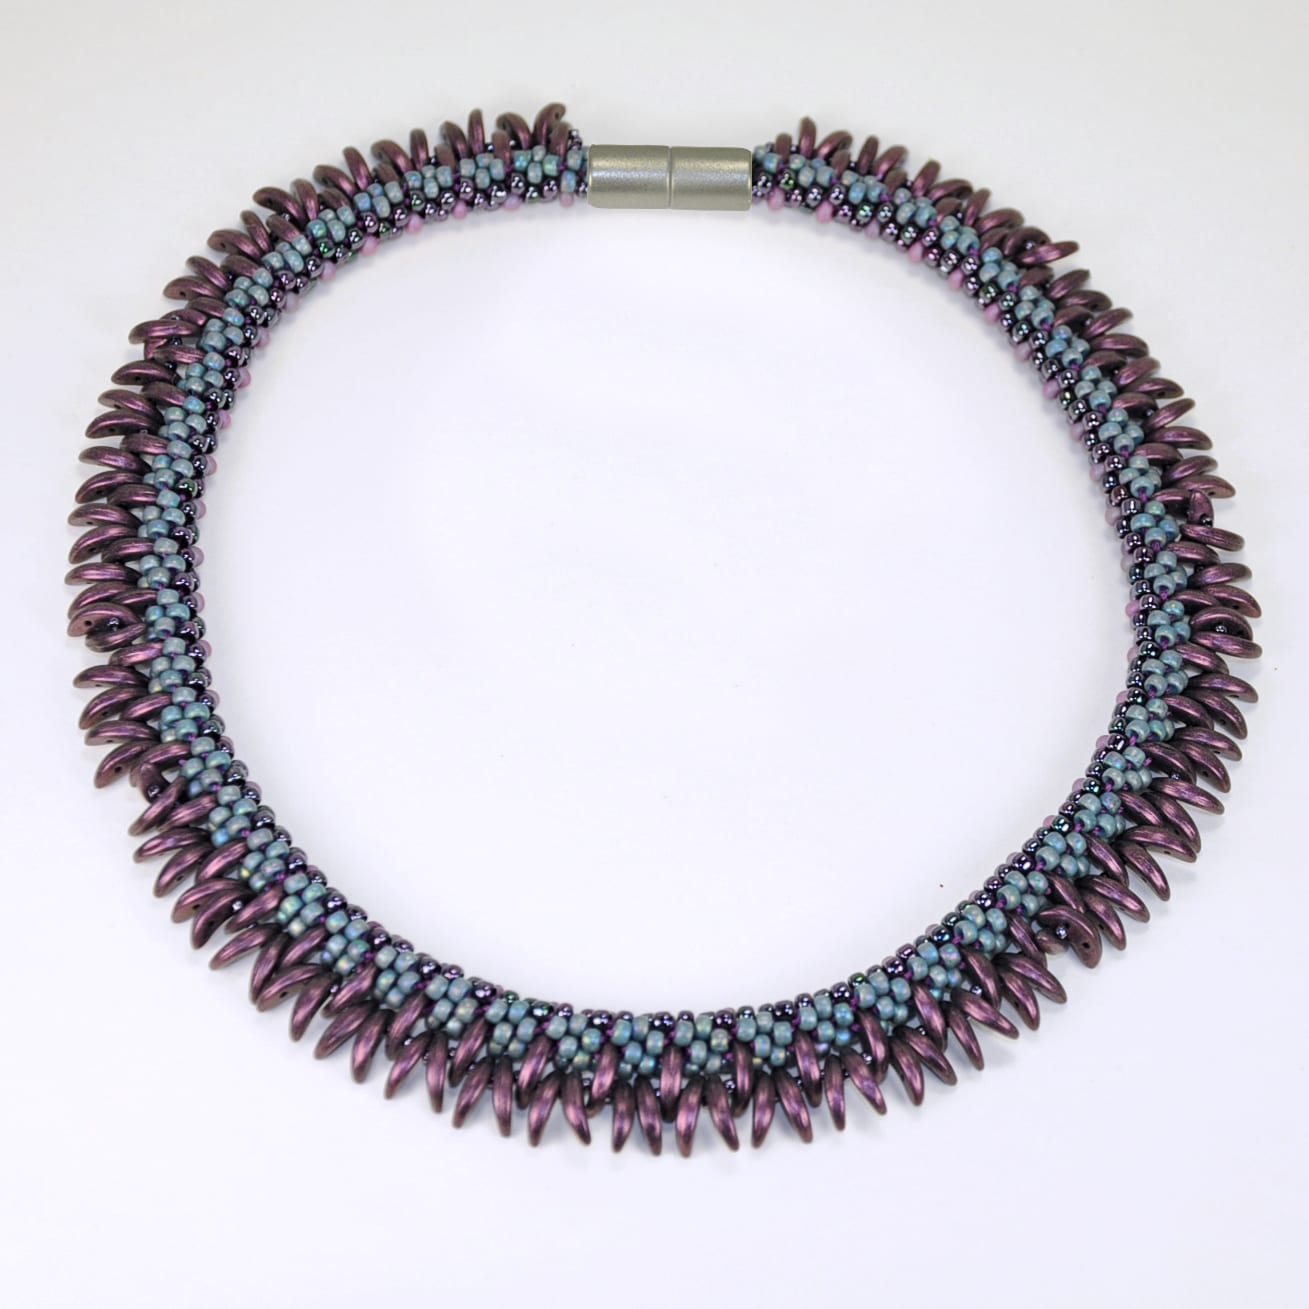
Crescent Fringe Collar
This project was featured in Bead & Button Magazine February, 2017. You will learn a technique for using 2-hole beads in a beaded kongoh braid and how to use the second hole to add embellishments to the necklace. This updated version of the instructions has one of Adrienne’s Kumi Q&A articles: What cords to use with gemstones and pearls. Pre-requisites: • Experience setting up and braiding a beaded Kongoh gumi (round braid) on the round disk or marudai • Bead counting, accuracy is critical. • Using two part epoxy glue, link to tutorial Student Q&A Q: My Crescents are free spinning and not laying flat. A: Yes, they are free spinning but once you put the necklace on to wear it check to see any of them need to be repositioned. When they are not up against your body they have more freedom to spin around. .
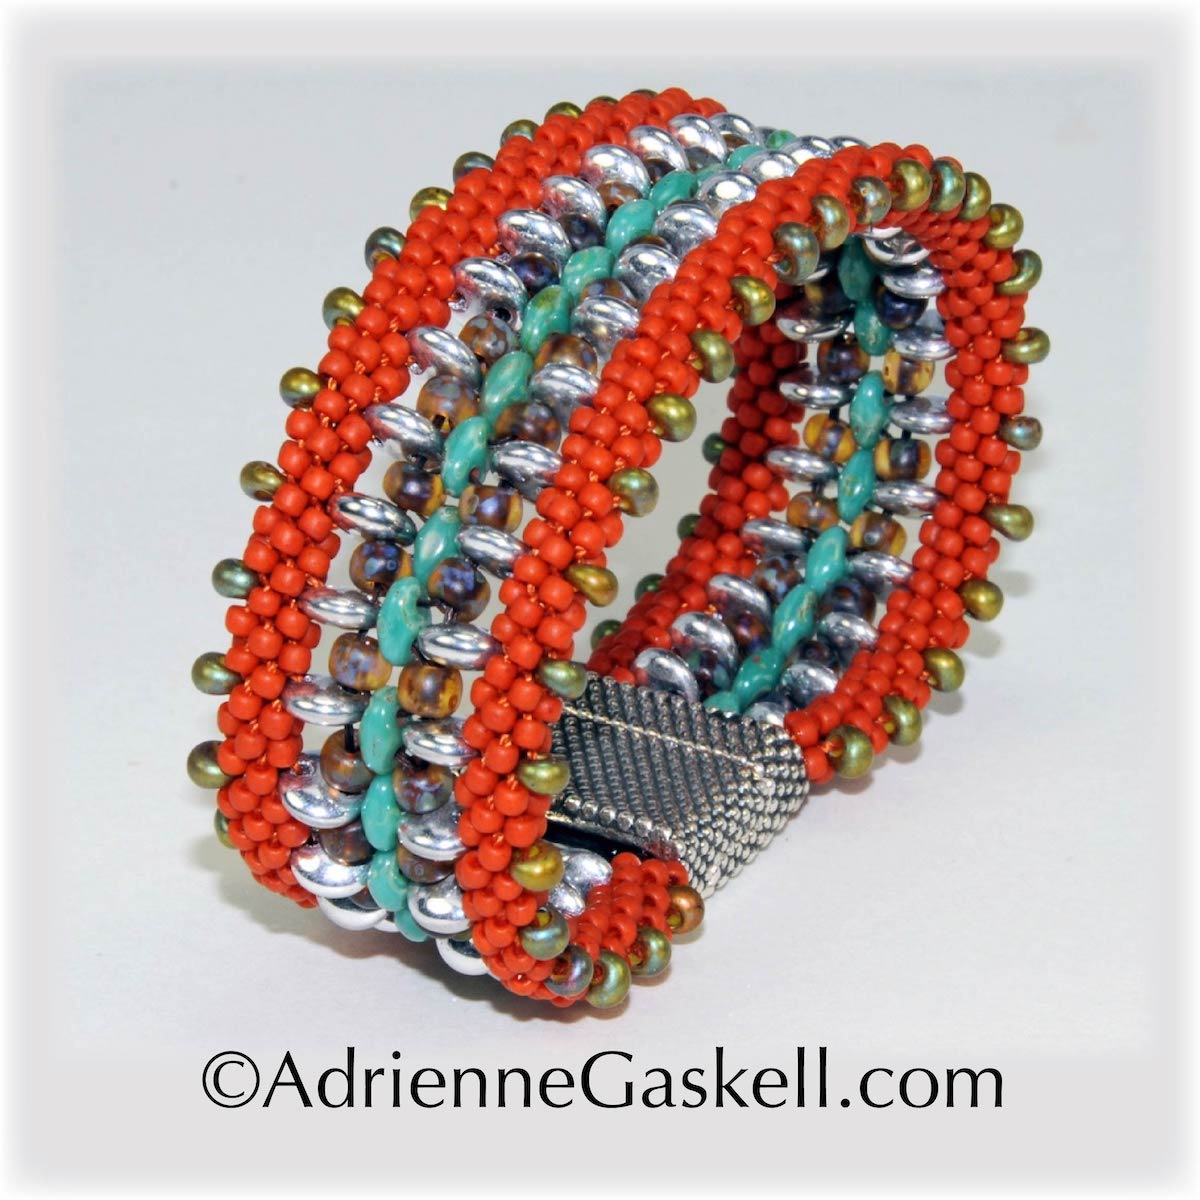
Two To Tango Bracelet
This project was featured in Bead & Button Magazine as Elegant Ombre Braids, December 2019. This bracelet achieves dimensional impact by stacking and then joining three separate braids together. Czech teardrop beads with a rainbow AB finish are the crowning glory.