Author: Adrienne Gaskell
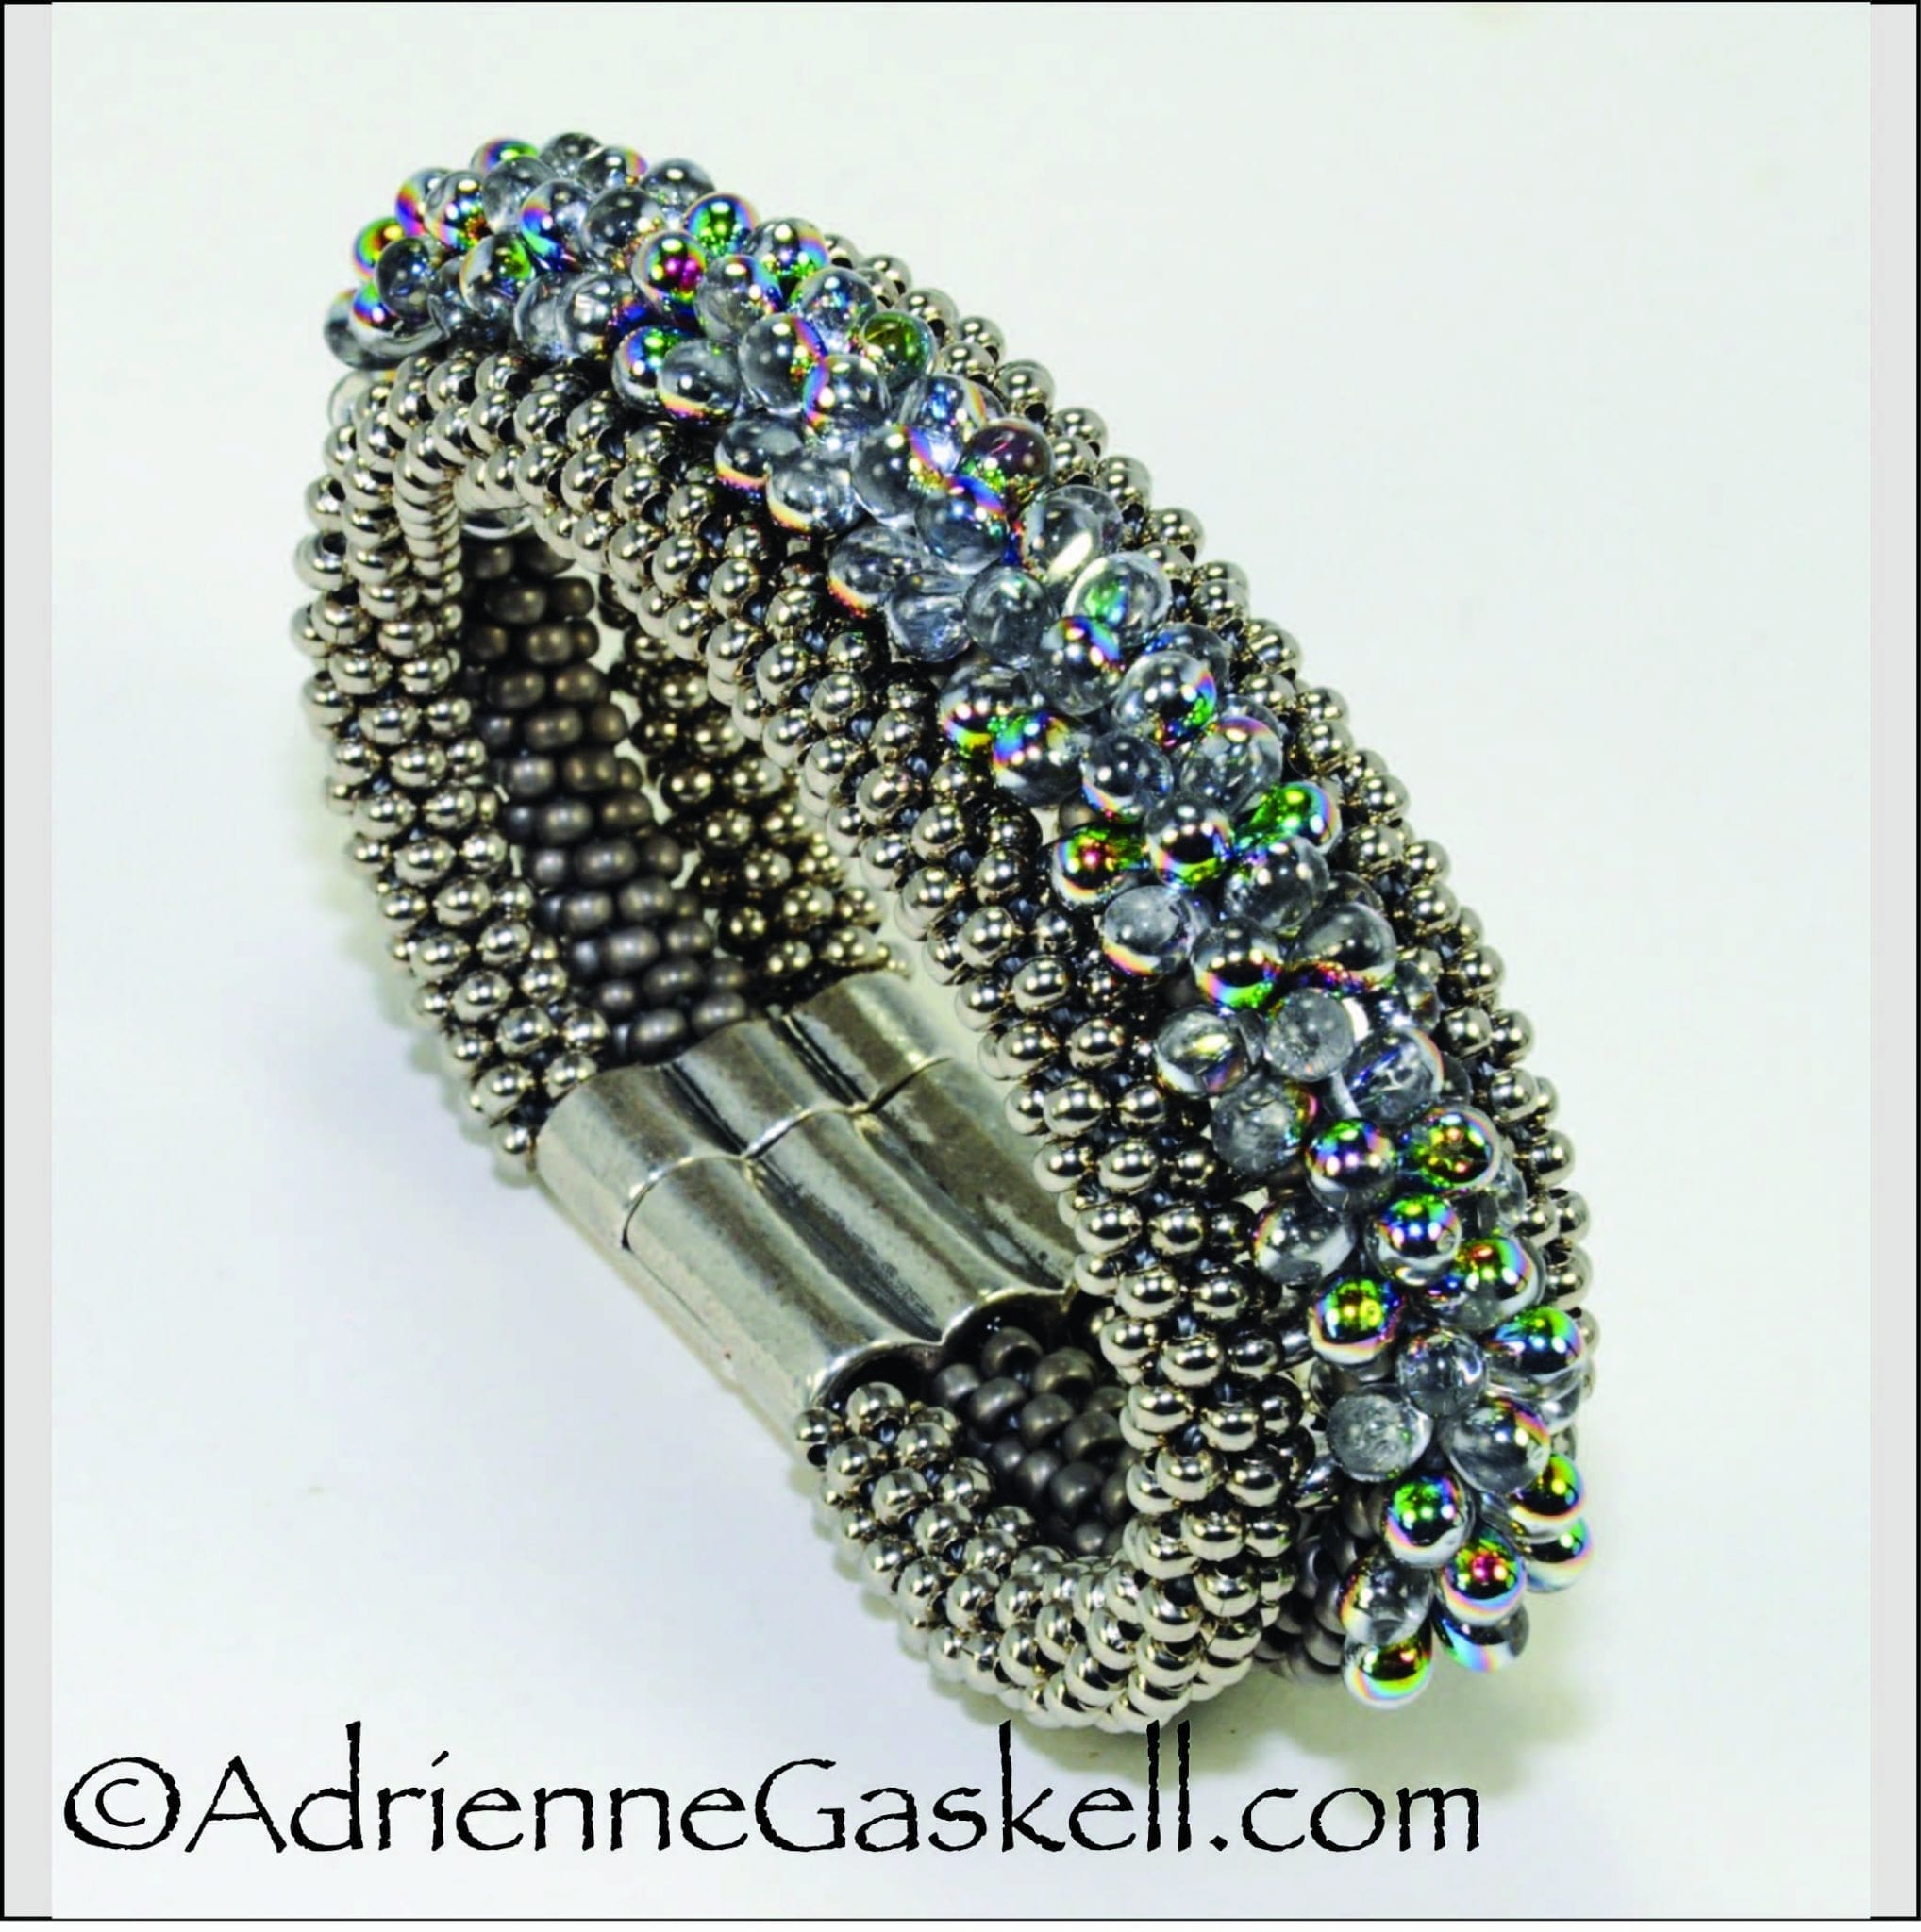
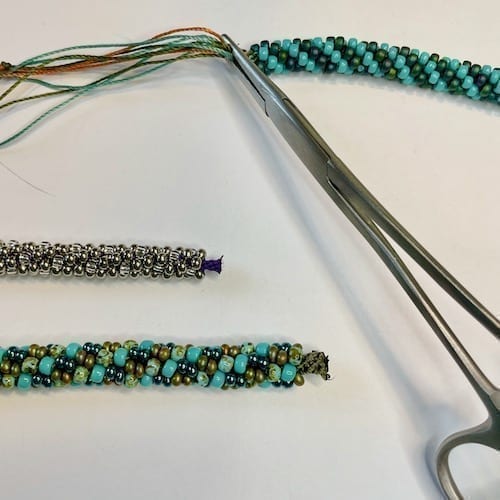
Over the Rainbow Bracelet
This project was featured in Bead & Button Magazine as Elegant Ombre Braids, December 2019. This bracelet achieves dimensional impact by stacking and then joining three separate braids together. Czech teardrop beads with a rainbow AB finish are the crowning glory.
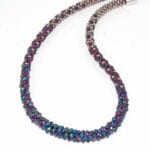
Demi Crystal Ombre – Blue
This project was featured in Bead & Button Magazine as Elegant Ombre Braids, December 2019. It is a great project for students to learn how to blend different colors and sizes of beads in a kumihimo beaded braid. This updated version of the instructions has one of Adrienne’s exclusive tricks: Adding a internal core only at center focal section of the braid. This enlarges the braid diameter where for just a few inches to really make the crystal section the featured element. This version (blue) features a five bead ombre blend; crystal roundelle beads, three colors of demi beads and silver seed beads. Pre-requisites: • Experience setting up and braiding a beaded Kongoh gumi (round braid) on the round disk or marudai • Bead counting, accuracy is critical. • Using two part epoxy glue, link to tutorial .
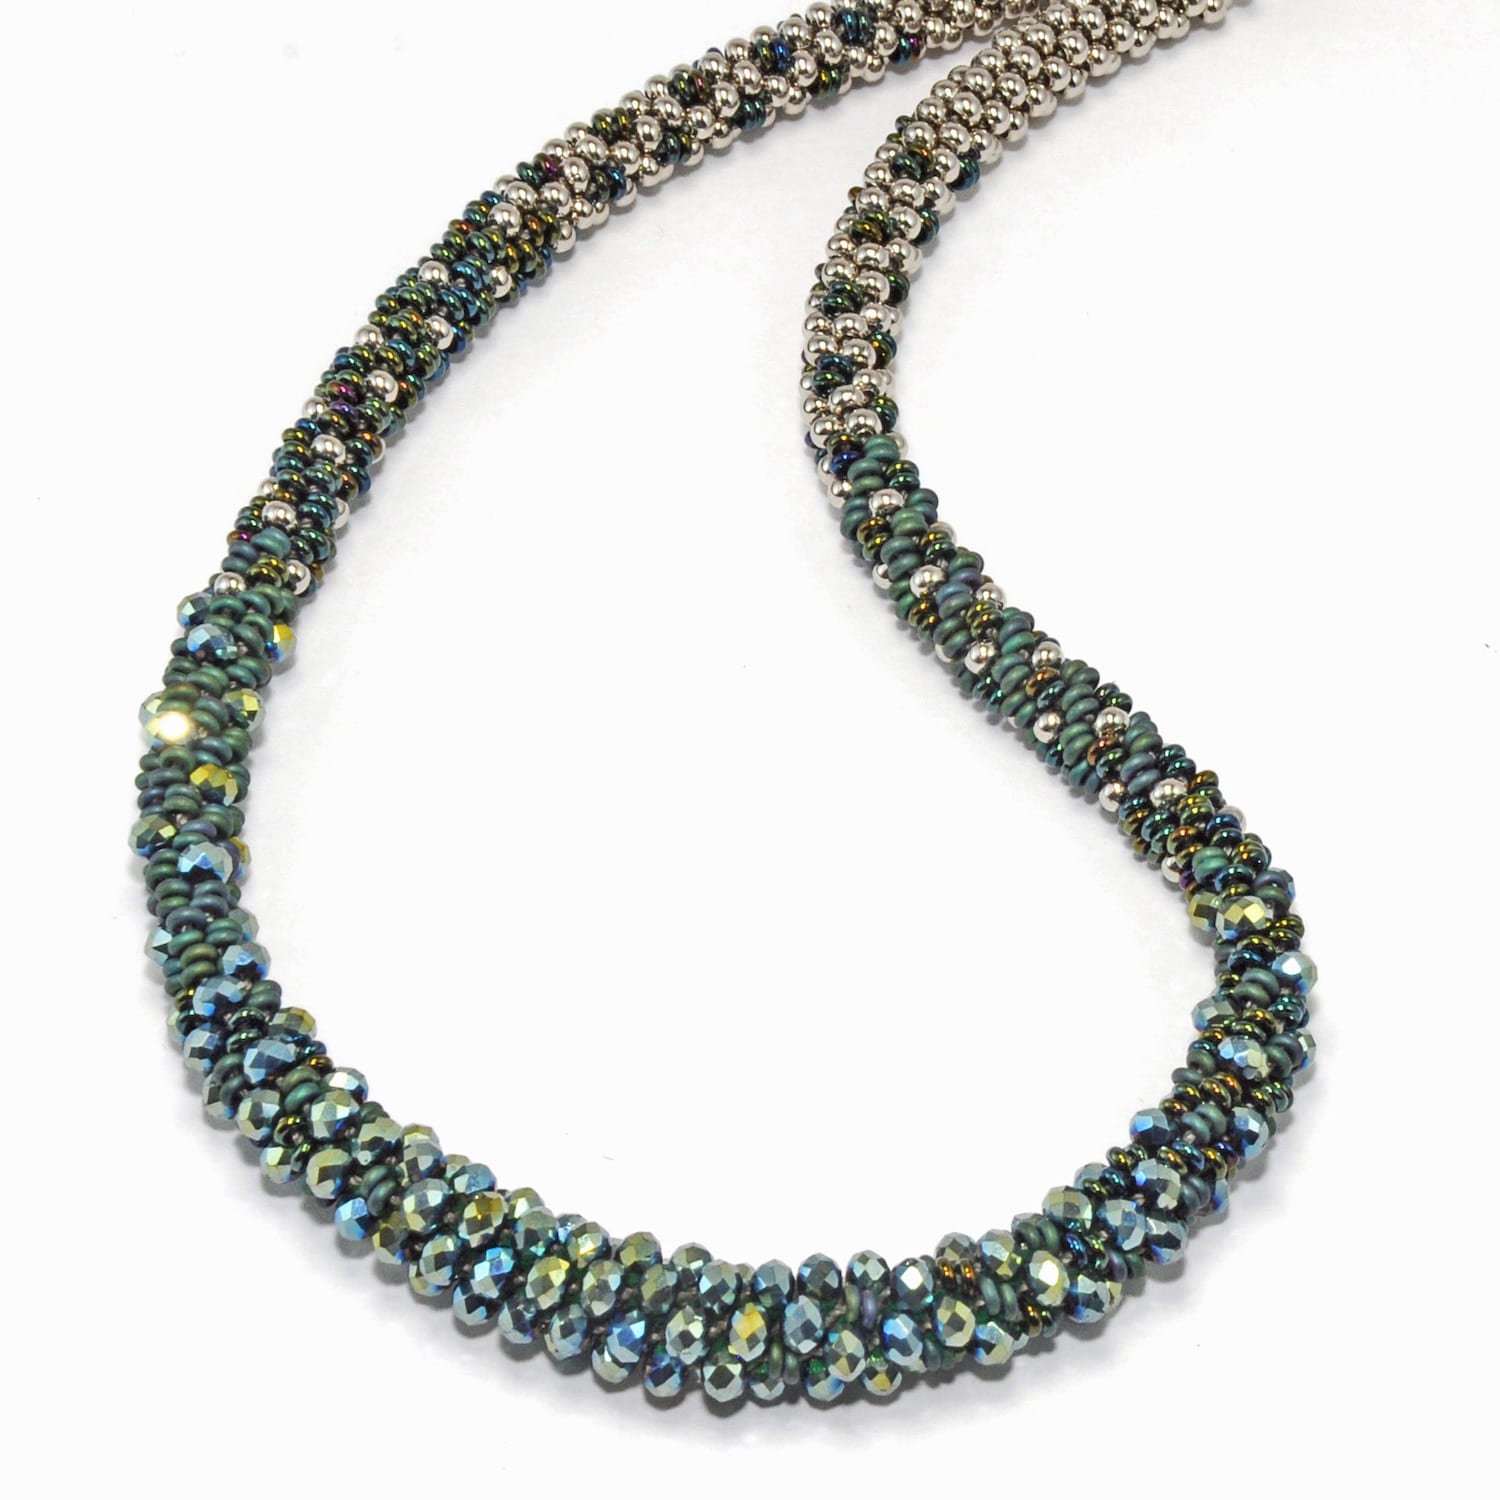
Demi Crystal Ombre – Green
This content is only available to course members. Login to your account or enroll into the course to see content.
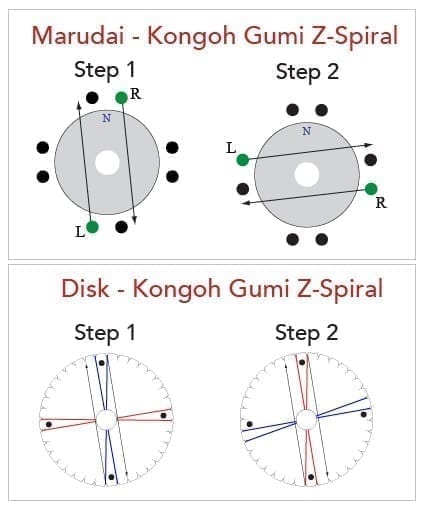
Beaded Kongoh Gumi (Round Braid)
MARUDAI Step 1: The two cords and move them at the same time – your hands move simultaneously. The cords will go directly over the top of the mirror passing parallel to one another. Pick up the two top cords with one hand and the two bottom cords with your opposite hand. Reposition all four cords so that they are perpendicular to the the East West cords. Step 2: Pick up the two cords and move them at the same time. Untwist your hands and and pick up the right hand cords with your right hand and the cords on the left side with your left hand and reposition all four cords so that they are perpendicular to the the North South cords. While learning the Kongoh braid it is best to reposition cords after each move. That will keep the cords in the cardinal points of the compass in the North, South, East and West. I think this makes it easier to keep track of the braid movements. When braiding it is important to keep the strength of the right and left hands even. And there should always be tension on the cords. The cords should be loose on your fingers, do not hold or grasp the cords as that will cause slack in the cord and affect your braid tension. The weighted tama and the counterweight serve to tighten the braid as long as the warp cords are hanging freely over your fingers. Movements should be relaxed and easy. When placing the tama on the opposite side of the mirror let them drop naturally. During the movements you do not need to touch the top of the mirror, the cords should be repositioned from the outside of the mirror. Mastering the braid will happen faster if you learn to keep your hands in motion. Do not stop between movements and try not to over think it. It is helpful to braid for a while without beads in order to establish a rhythm. Eventually it will become automatic and you will start to develop muscle memory. Braid without beads at least for four steps (Steps 1 & 2 repeated twice). This will give the beads space to be worked into the braid. The unbeaded nub can be as long as needed depending on the clasp and findings that will be used to finish the braid. Adding Beads Beads are added every time you move a warp. Grasp the top bead on the north and south cords to be moved. Use your thumb and forefinger and lift and separate the bead from the other beads. Slide it up the cord until it is about one inch from the bottom of the mirror. Placing tension on the cord place your forefinger behind the bead. This will keep it from sliding back down the cord. Lift the warp cords up about an inch or so above the mirror so that the beads drop down to the point of braiding. Make sure to keep tension on the cord, there should be no slack in the cord. Bring the cord straight down to the top of the mirror and slide the cords clockwise on the mirror keeping tension on the cords. This is when the beads will slide into under the horizontal warp cords. Sometimes the first beads do not go into position and they will need to be pushed under the cords. Once the first two beads are under the horizontal cord lift the cord and jump the cord across the mirror into the position. Reposition the active warp cords only, do not touch the other cords. The horizontal moves are different with beads than with fiber. Move your hands straight out in front of you and pick up the cord on the right with your right hand and the cord on the left with your left hand. Grasp the top beads on the cords with your thumb and forefinger and lift and separate them from the other beads. Slide the beads up the cord until they are about one inch from the bottom of the mirror. Placing tension on the cord place your forefinger behind the bead. Lift the warp cords above the mirror and let the bead drop down to the point of braiding. Bring the cords down to the top of the mirror and move them slightly in the clockwise direction until the beads go into position. Then jump the cords across the mirror to the new position next to their partners. Reposition the active warp cords. Drop Bead Kongoh mantra for the marudai: DROP – SKIP – JUMP DISK The cords are moved one at a time. Move the top right cord with the right hand and lock the cord into the slit, Then move the bottom left cord with your left cord, and lock it into the slit. The disk is then rotated 90 degrees for step 2 so that it can be worked the same as step 1. Braid without beads at least for four steps (Steps 1 & 2 repeated twice). This will give the beads space to be worked into the braid. The unbeaded nub can be as long as needed depending on the clasp and findings that will be used to finish the braid. Adding Beads Beads are added every time you move a warp. Lift the top right cord out of the slit and use your index finger to slide the first bead on the cord to the point of braiding. Use your other fingers to keep the rest of the beads on the cord from sliding with the first bead.Lock the bead into place under the cord that it crosses when moved into the new position. The first four beads need to be treated gently as they don’t like to stay in position. Keep some slack on the cords as you work. If a bead slips out push it back under the cord and tighten the cord that was crossed. Do not tighten the cord that was moved with the bead. Repeat and add a bead to the braid from the bottom left cord.
Quick & Easy Ending – Beaded Braids
Use this method when braiding with CLon or SLon.
Leaders – Why, When & How?
Recording from the March 3, 2021 Kumi Wednesdays Zoom class with Adrienne.
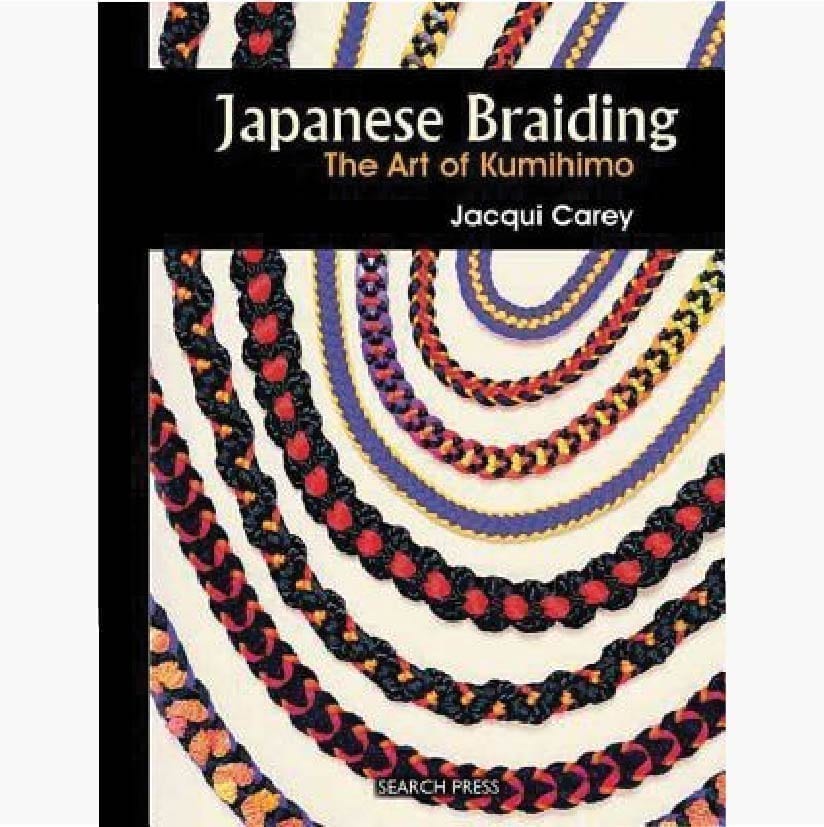
Japanese Braiding – Art of Kumihimo
During the January 13, 2021 Kumihimo Wednesdays with Adrienne three essential kumihimo books were reviewed. One of them was Jacqui Carey’s popular book Japanese Braiding the Art of Kumihimo. Carolyn Haushalter shared her insights from using this book as a teaching guide for students new to the marudai. This short video outlines the main features of the book to help kumistas make a decision if this is a book they would like to add to their kumihimo library.
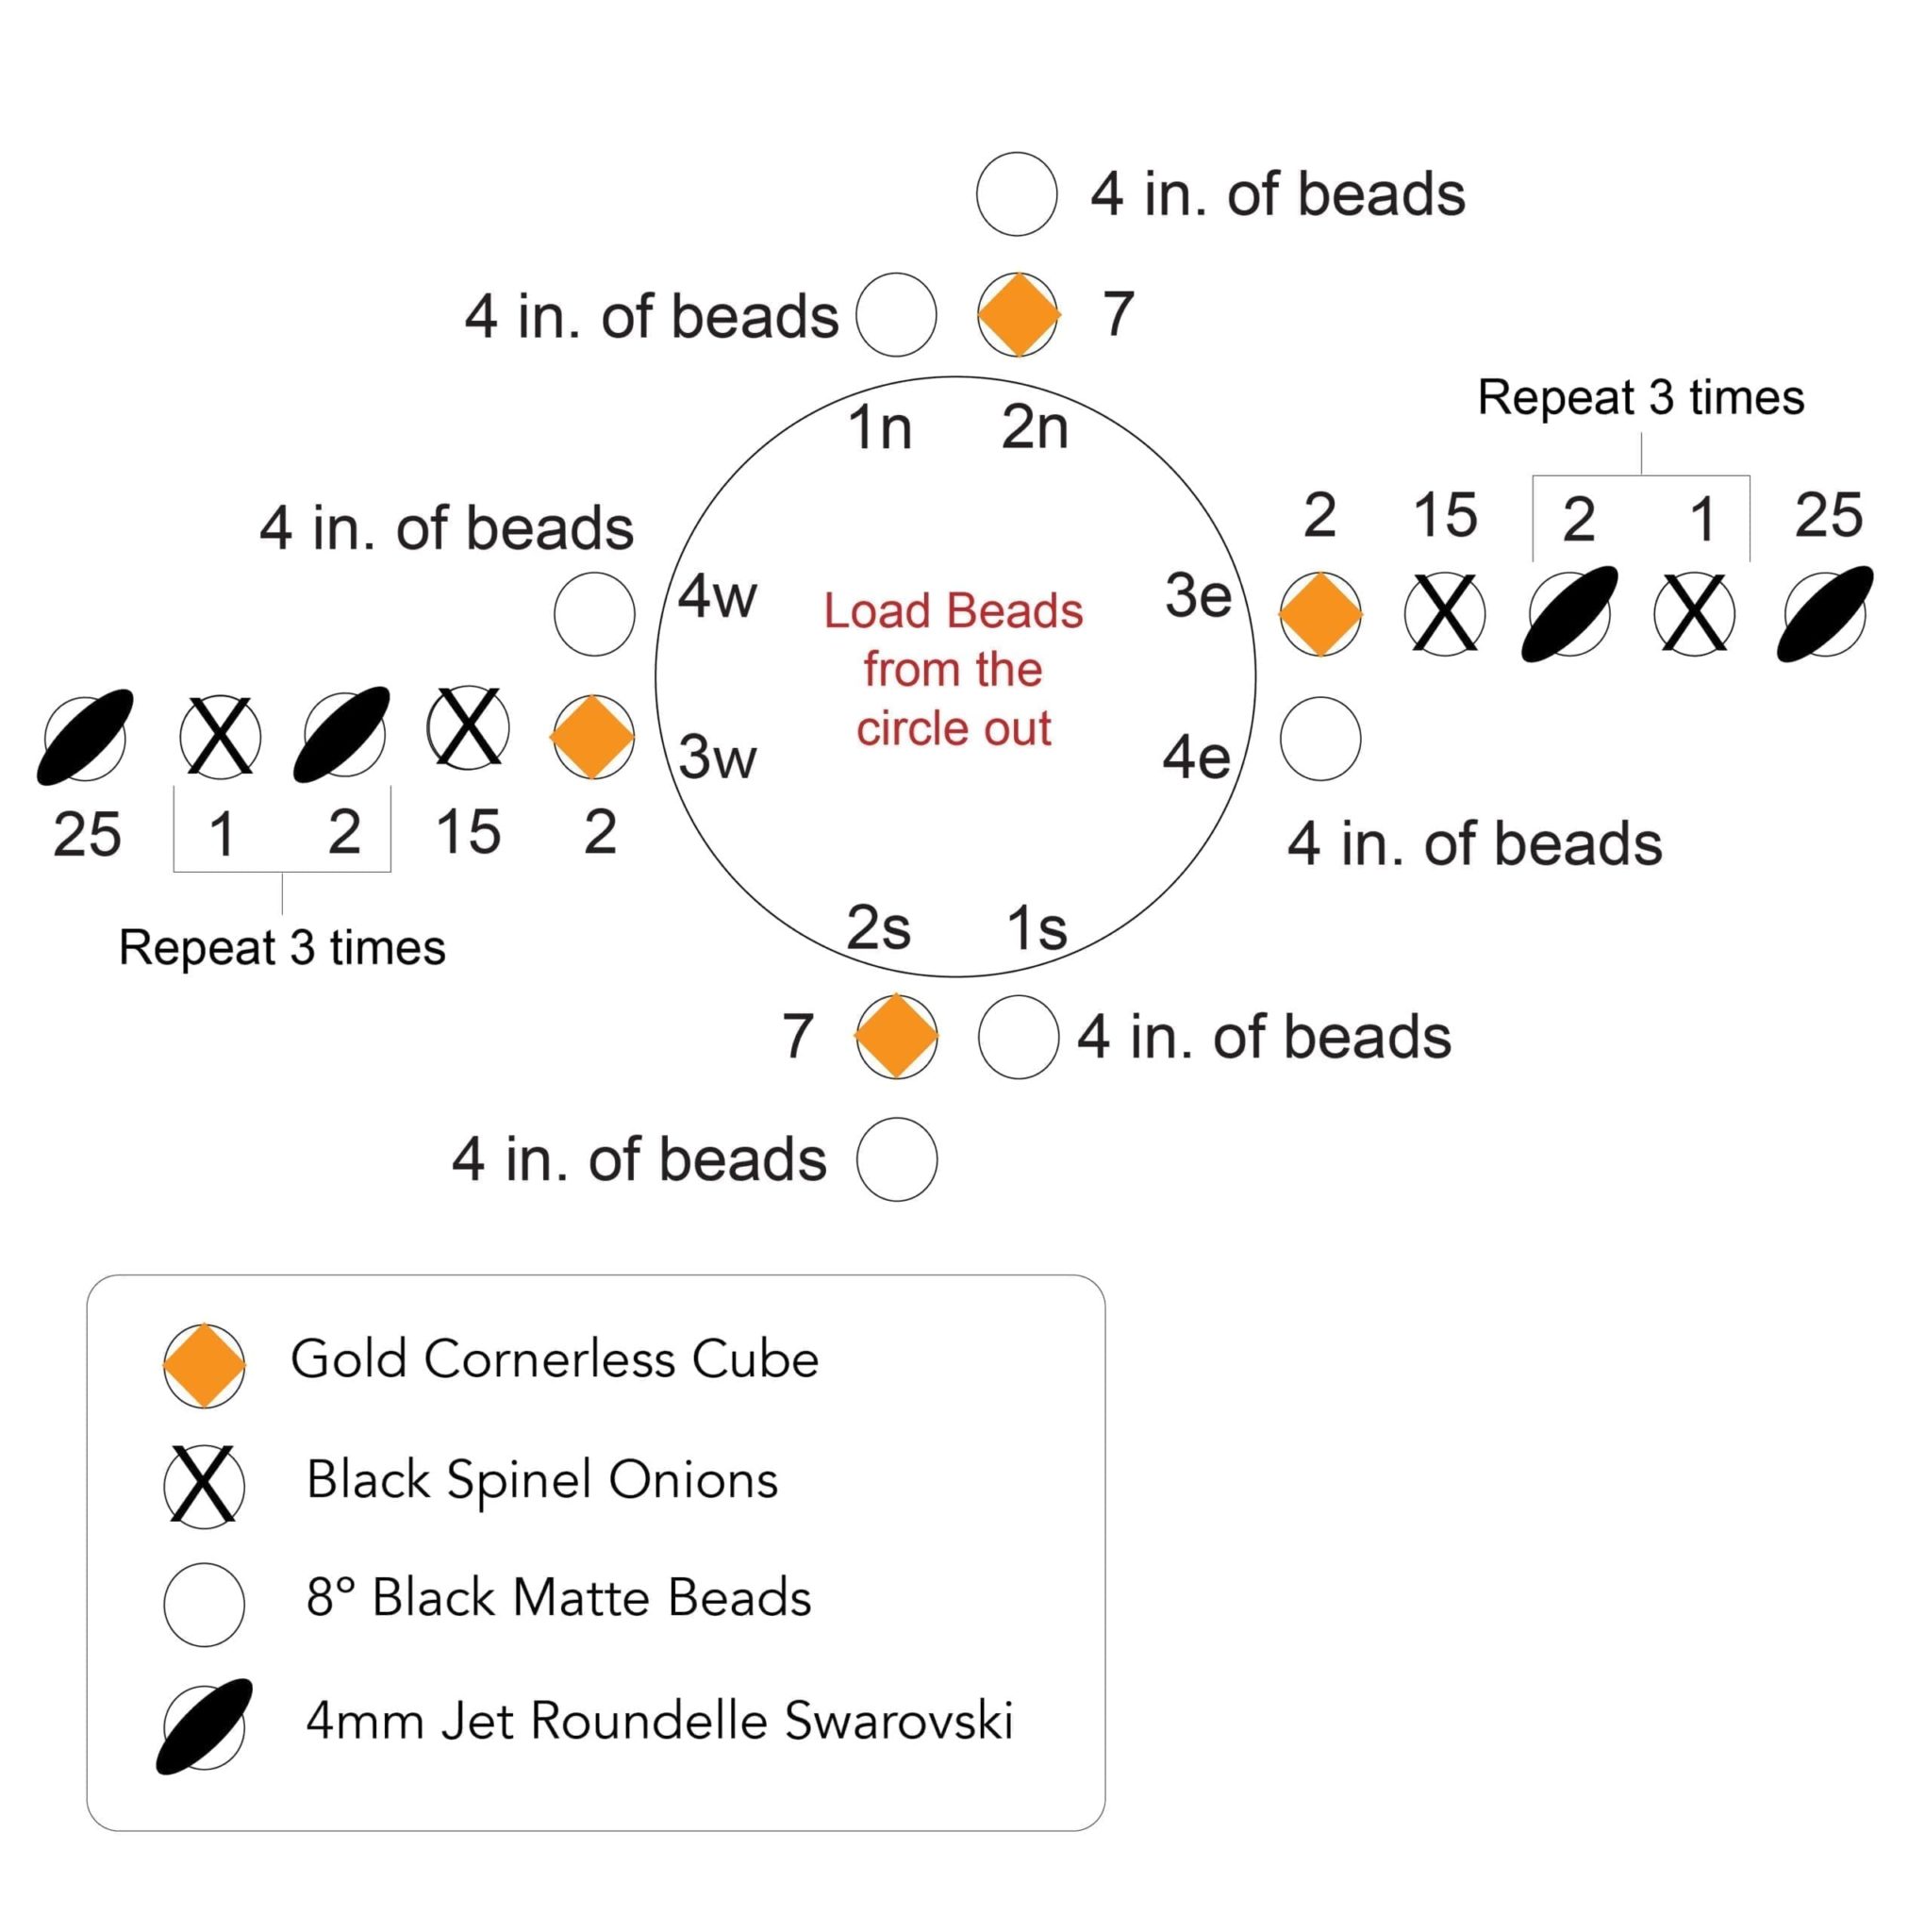
Braid Documentation & Downloadable Forms
Simple Documentation Whether or not you intend to replicate the braid you are making, keeping notes can help you plan another similar project in the future. There are many ways to document a braid as well as some useful apps that can be downloaded to your phone or tablet. These are some of the things I like to use to keep track of my projects. Kongoh Beaded Braid with Counted Bead Pattern The Bead Layout Blank is used keep a record of the bead placement when making a counted pattern. You should also make notes of your cord length, type of cords, and necklace length. See example of how to use the Bead Layout Blank. I attached a photo for easy reference.