Gemstone beads elevate your beaded kumihimo designs to the realm of sophisticated jewelry. However, it can also be difficult to use gemstones in braids. Large center drilled beads in general pose a lot of challenges to working with beaded kongoh (round braid). I have found that using top drilled beads solve many problems associated with braiding with large beads.
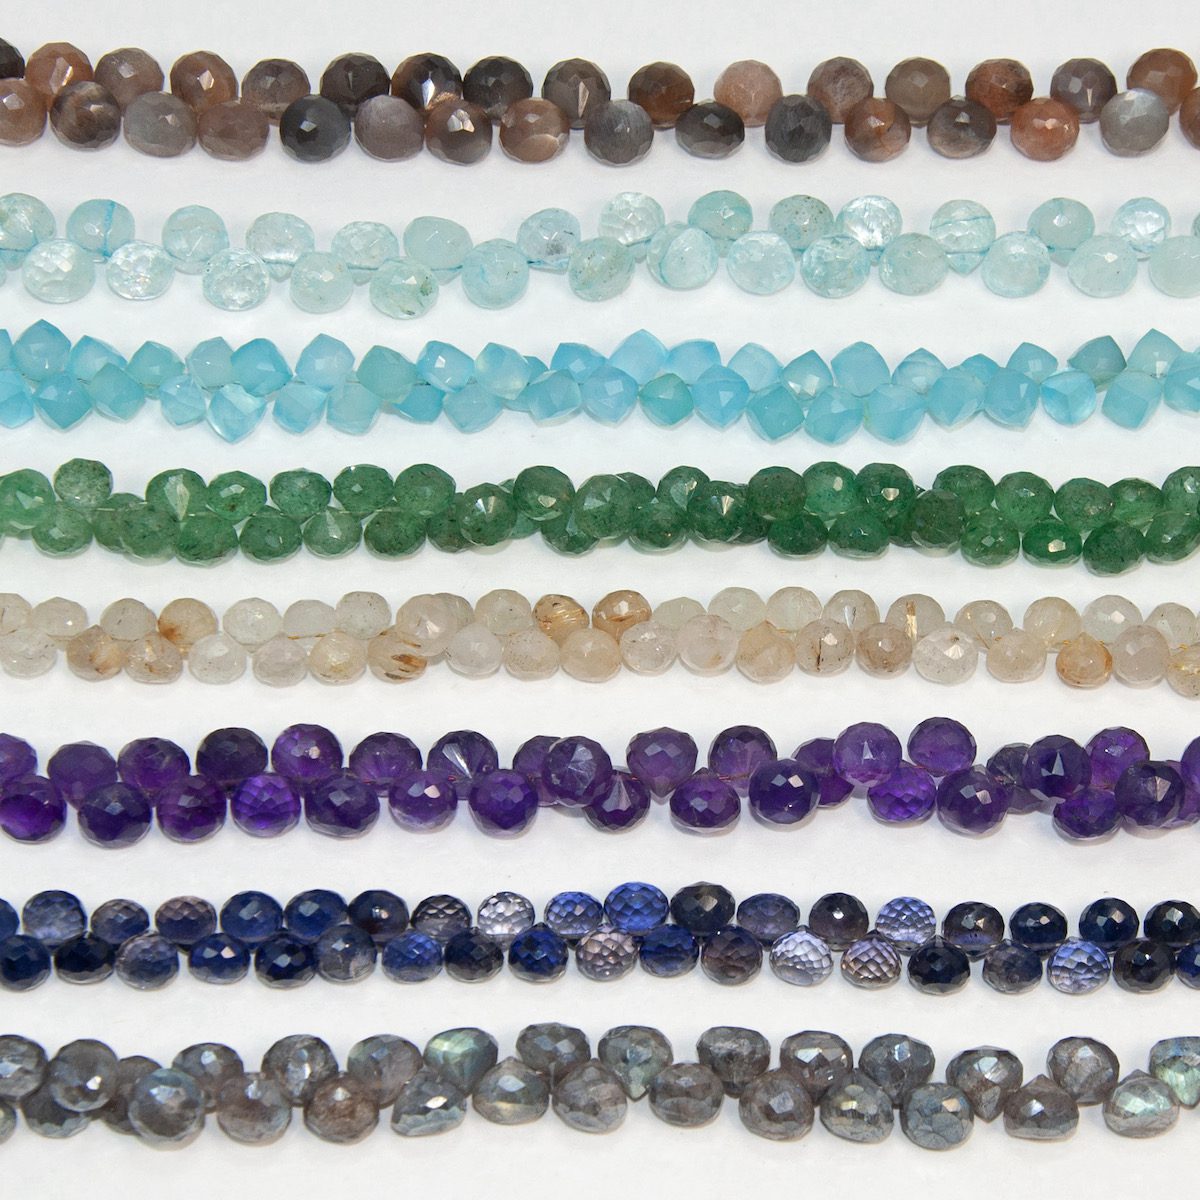
In the gemstone world the most common top drilled beads are teardrops. Although there are lots of sizes, shapes and variations they can generally be grouped into three categories: briolette, front drilled teardrop and side drilled teardrop.

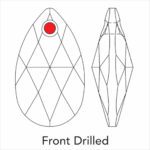
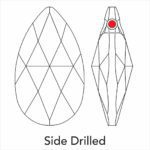
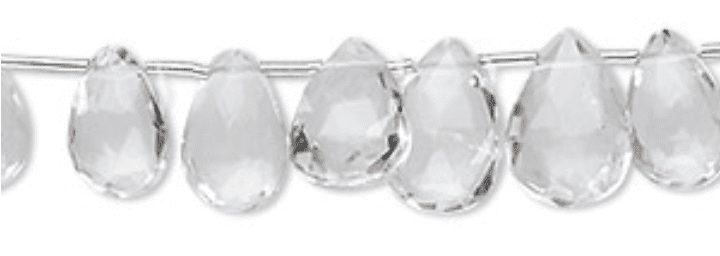
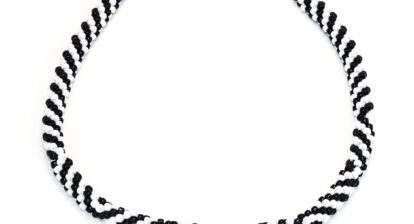
Sparkly gemstones can be very seductive when viewing them on the strand, however they may not be the best option for using in a beaded braid. Generally gemstone beads are hand drilled and so the holes are rarely straight. If the holes are not perfectly straight and aligned with the others when they are hanging along the bottom of a braid they can be as unattractive as crooked teeth. It is fairly obvious when looking at the strand below but often gemstones are tightly bunched together on the strand without a spacer between them and so it is usually not as apparent.
So with all these issues how can you use gemstones in your braided jewelry?
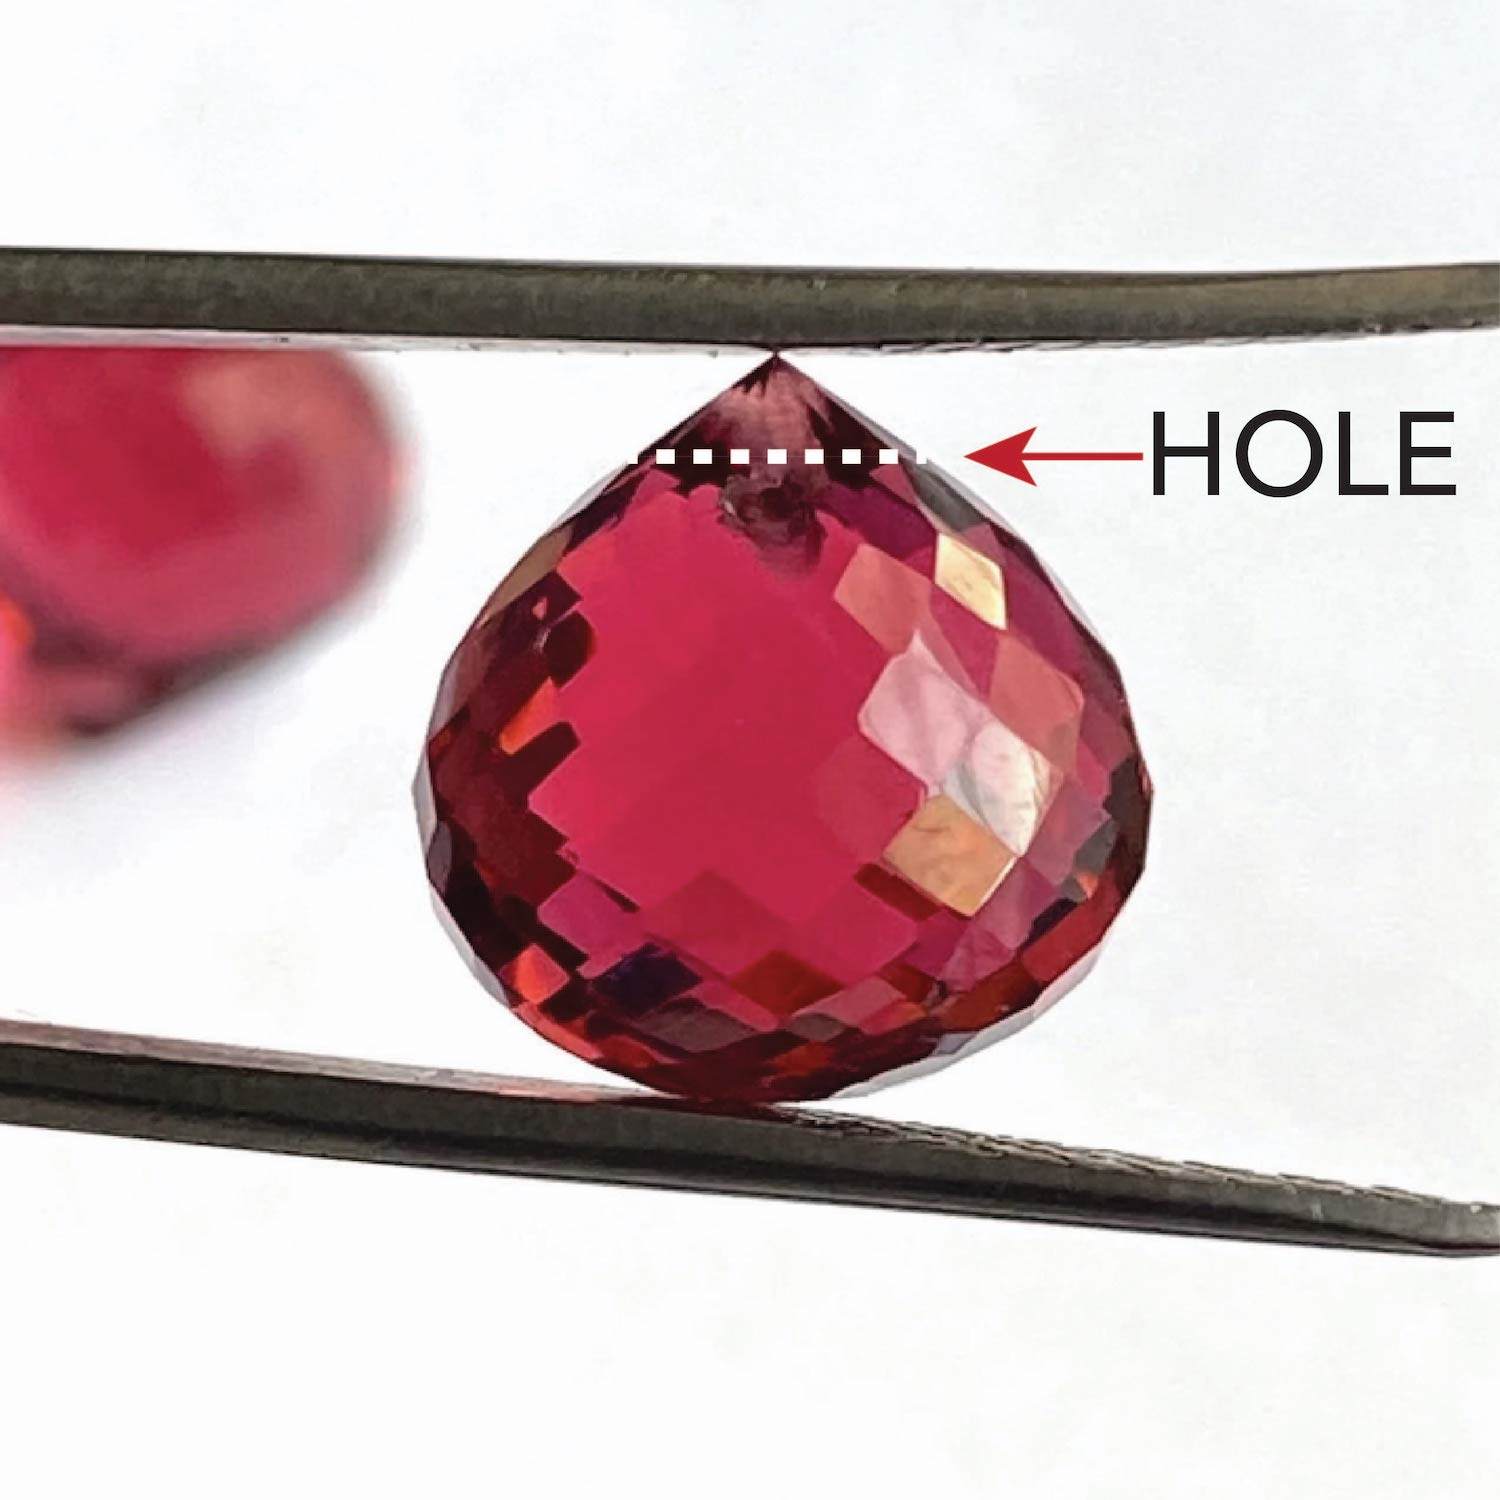
Don’t despair there is another option – gemstone onions!
What is a gemstone onion? This is a less common shape for gemstones so you may not have ever come across them. The stone cutters in India are the only ones that make this shape of gemstone bead, and over the years they have become more rare.
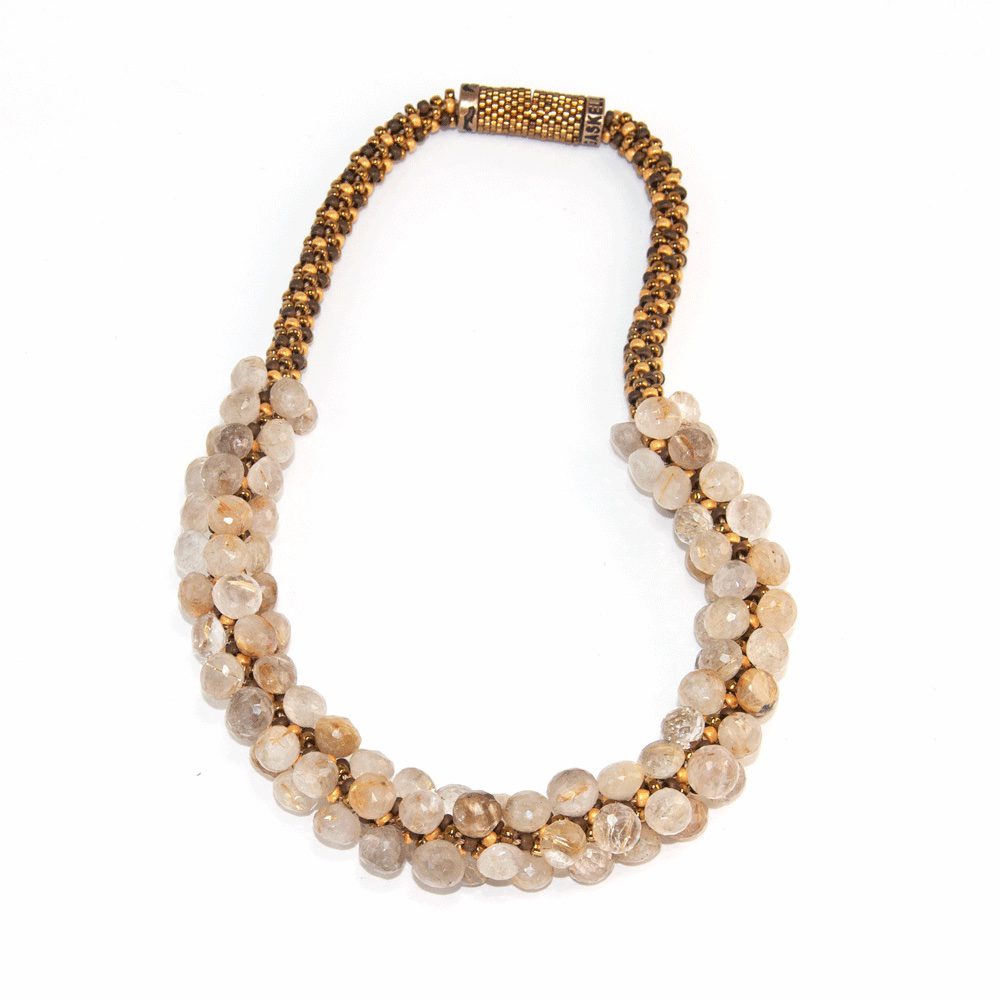
Pattern for Onion Necklace
Most people are surprised at how easy it is to make a gemstone necklace. So, I hope you will try this simple pattern for my golden rutilated quartz necklace. Obviously you don’t have to use rutilated quartz, you can use any gemstone onions you wish. You can also reduce the amount of onions. Simply make up the difference with the 8º bronze metallic beads on each side of the onions. I designed this using 8º seed beads for the base braid that that you don’t even need a core.
Download PDF Gemstone Necklace Instructions
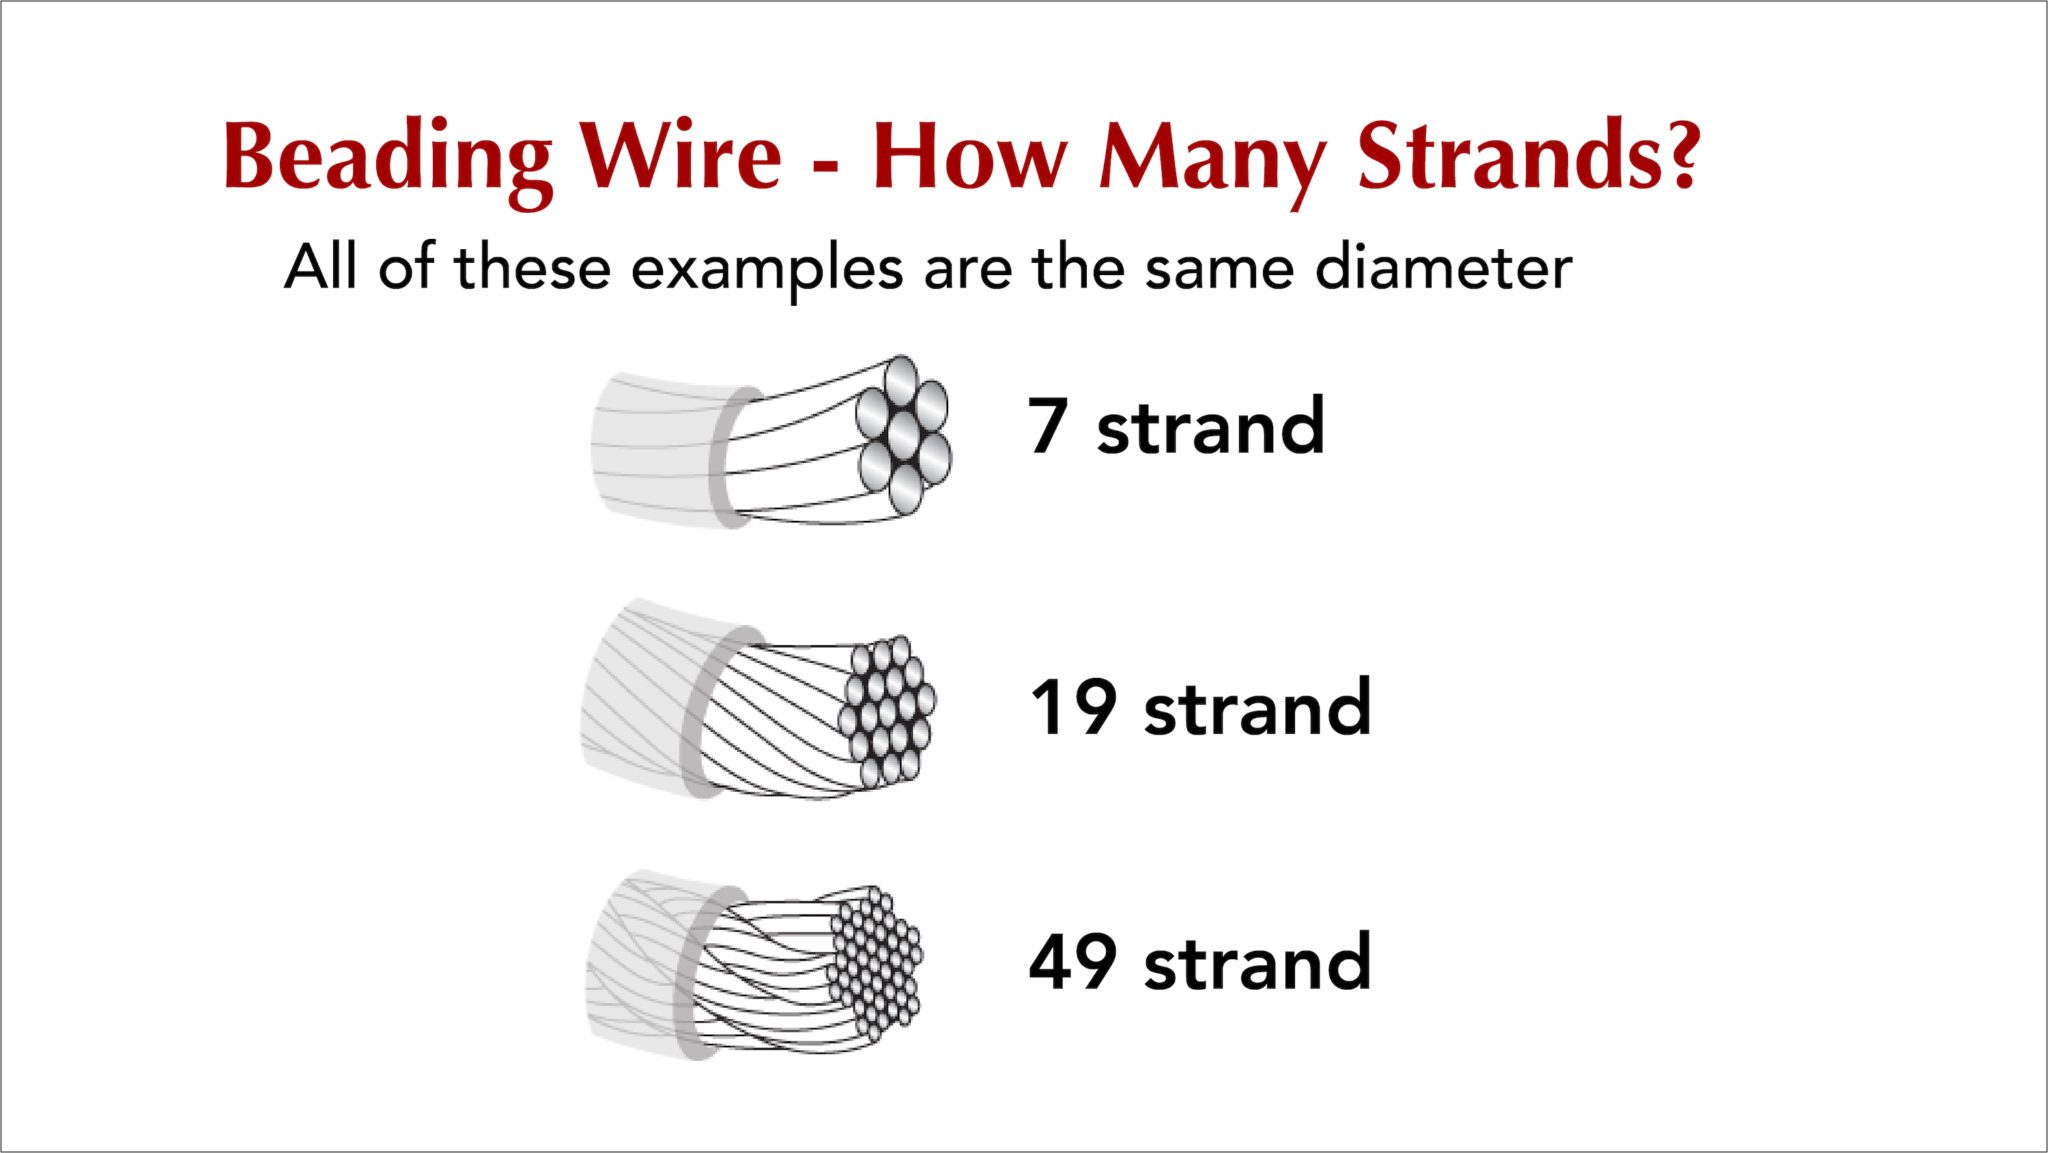
How to use Beading Wire
Gemstone onion beads present two challenges when considering braiding cords, 1) the holes are usually tiny and 2) the holes have sharp edges. So, I recommend using very thin beading wire for the cords that will carry the gemstones.
Beading wire has a core of stainless steel wire which is what makes strong and difficult to break. Although you want to use something that will not break so also want something that is supple and not stiff. So I recommend to use a very thin diameter (about 0.18 in.) with 49 strands. The number of strands does not affect the diameter of the wire just the flexibility. If you think about it it makes perfect sense, the thinner the stainless steel wires the the more flexible they will be, thicker wires are more stiff.
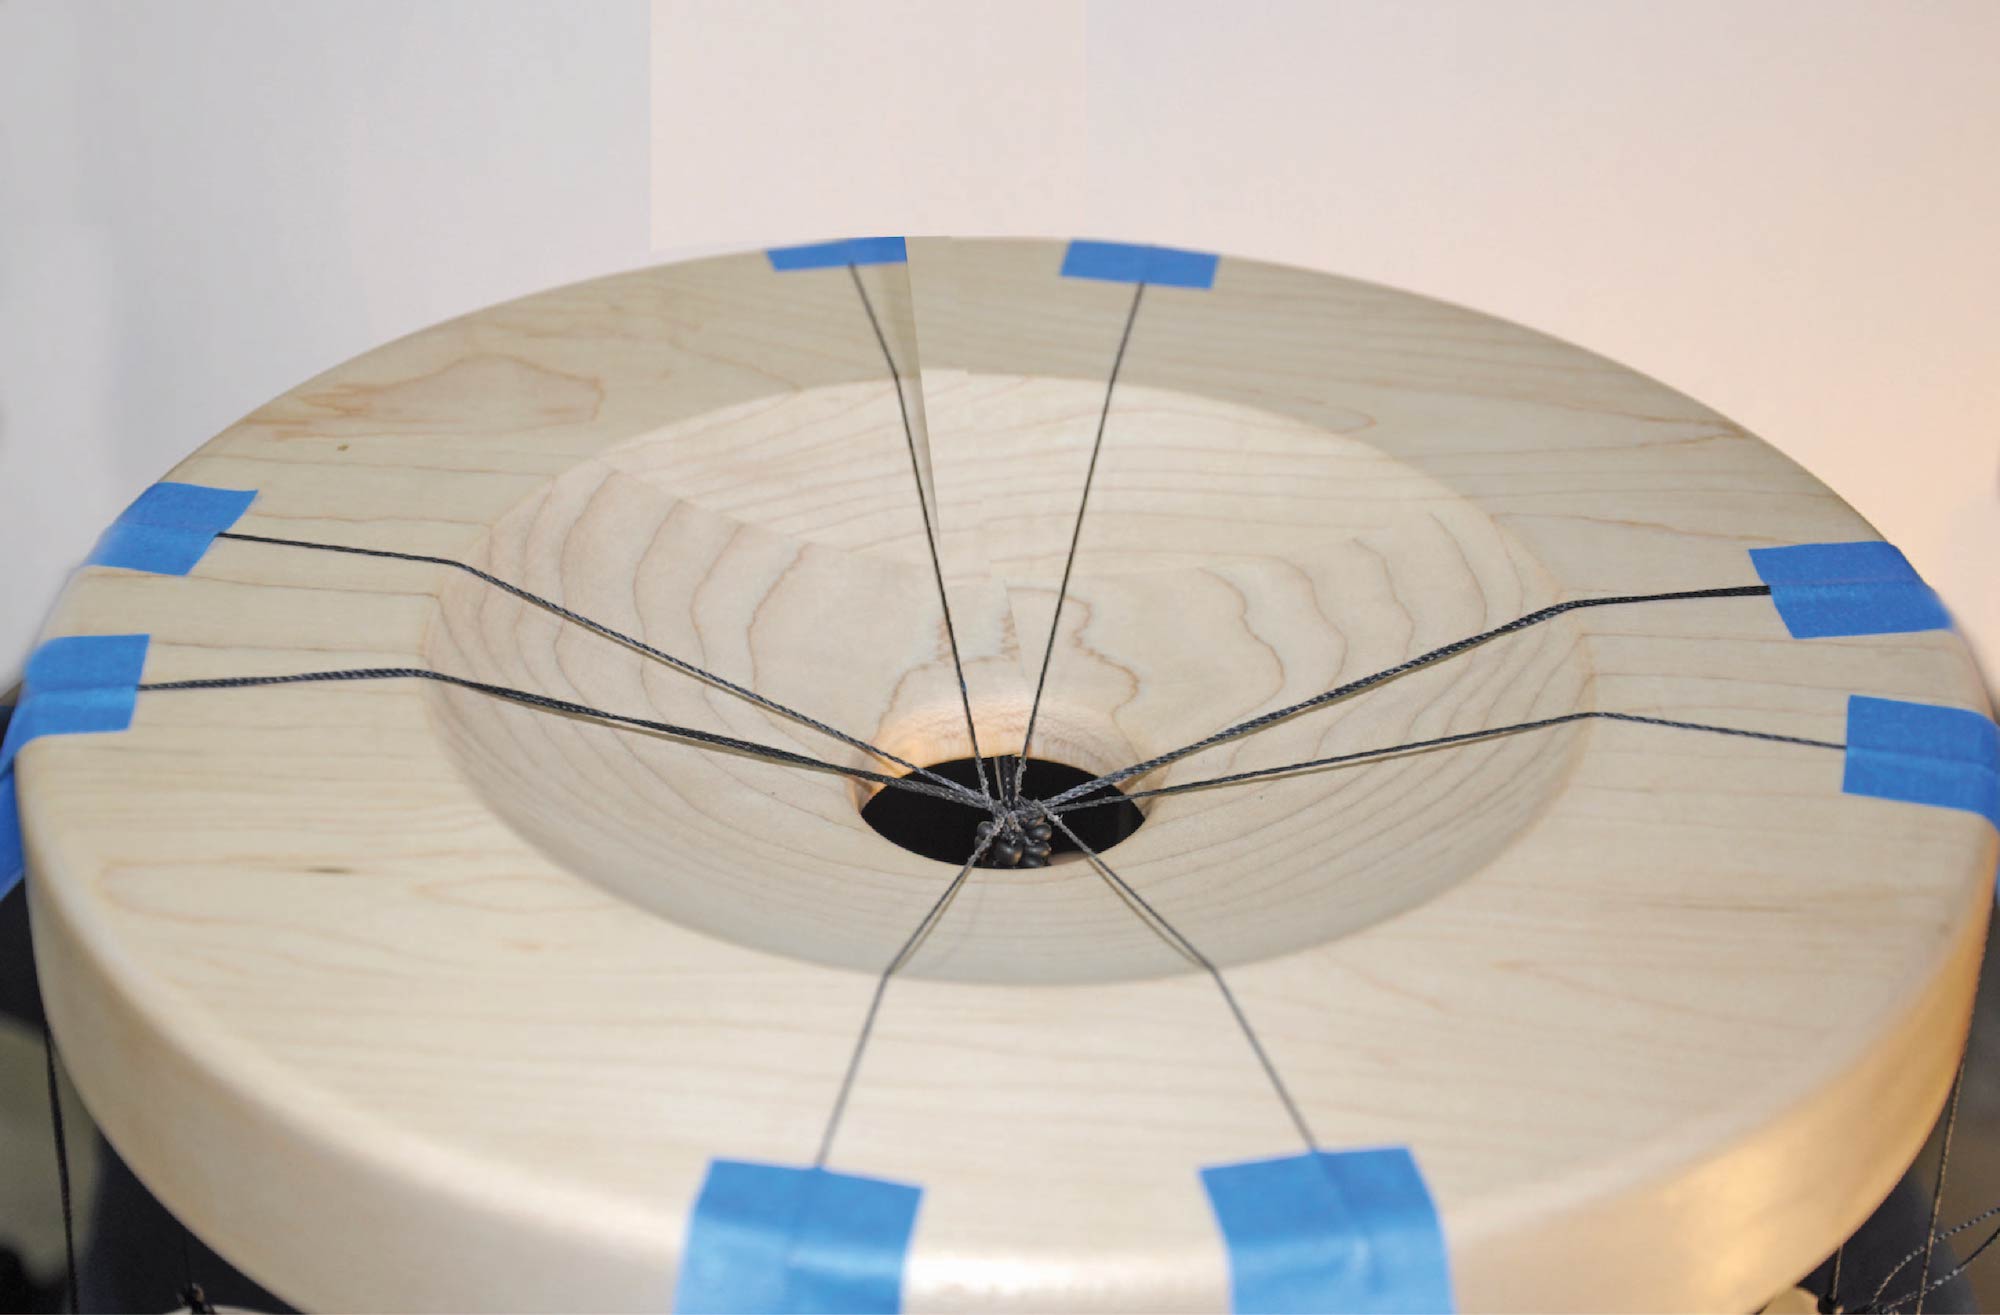
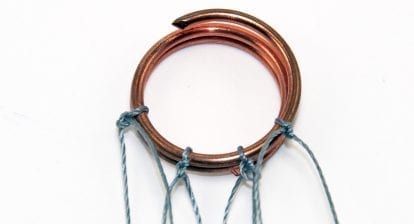
Securing Beading Wire
Another important thing to know about beading wire is how to properly secure the ends. When I first started using beading wire I was having a problem getting the knots to stay tight. So I contacted one of the developers at Beadalon to see what they would recommend. They said to use super glue, but not in the way you would normally use it. Please keep reading. The inner steel wire is covered in a nylon coating and when super glue is applied to the nylon a chemical reaction occurs that causes the nylon to melt slightly and fuse to itself. So when a knot is tied the nylon that is overlapping itself will become fused together. It is important to know that the chemical reaction takes 15 minutes. That’s right, we are use to super glue creating an instant bond when used as a glue, but in this case you must wait the full 15 minutes for the knot to be fused to itself and for it to be secure. I do the gluing while the braid is still on the marudai or disk as this helps keep a tight tension on the cords while working. If using a disk, tie a square knot with the three pairs of SLon/Clon cords and then, lastly, the beading wire cords. Put each set of cords back in their slits after tying the square knot to keep them tight. If using a marudai, remove the tama from the first set of CLon/SLon cords and then tie a square knot. Tape the cords to the marudai mirror with painter’s tape back in their position. Repeat with the next two sets of CLon/SLon cords. Lastly tie a square knot with the beading wire cords and tape them to the marudai mirror.
Please be careful not to get the super glue into your braid. You only need a small drop. I don’t like to apply the glue directly from the tube as I’m worried more will come out than expected or needed. Instead, I put a drop on a small plastic bag and use the tip of a toothpick to apply the glue. Another amazing fact about super glue, when the liquid glue is resting on a plastic bag it will stay wet for hours. I know, I was surprised too, I always thought of it as drying instantly.
I hope this encourages you to try using gemstones in your braided jewelry designs. Enjoy your braiding journey, wherever it leads.

Rhonda Jones
Beautiful necklace
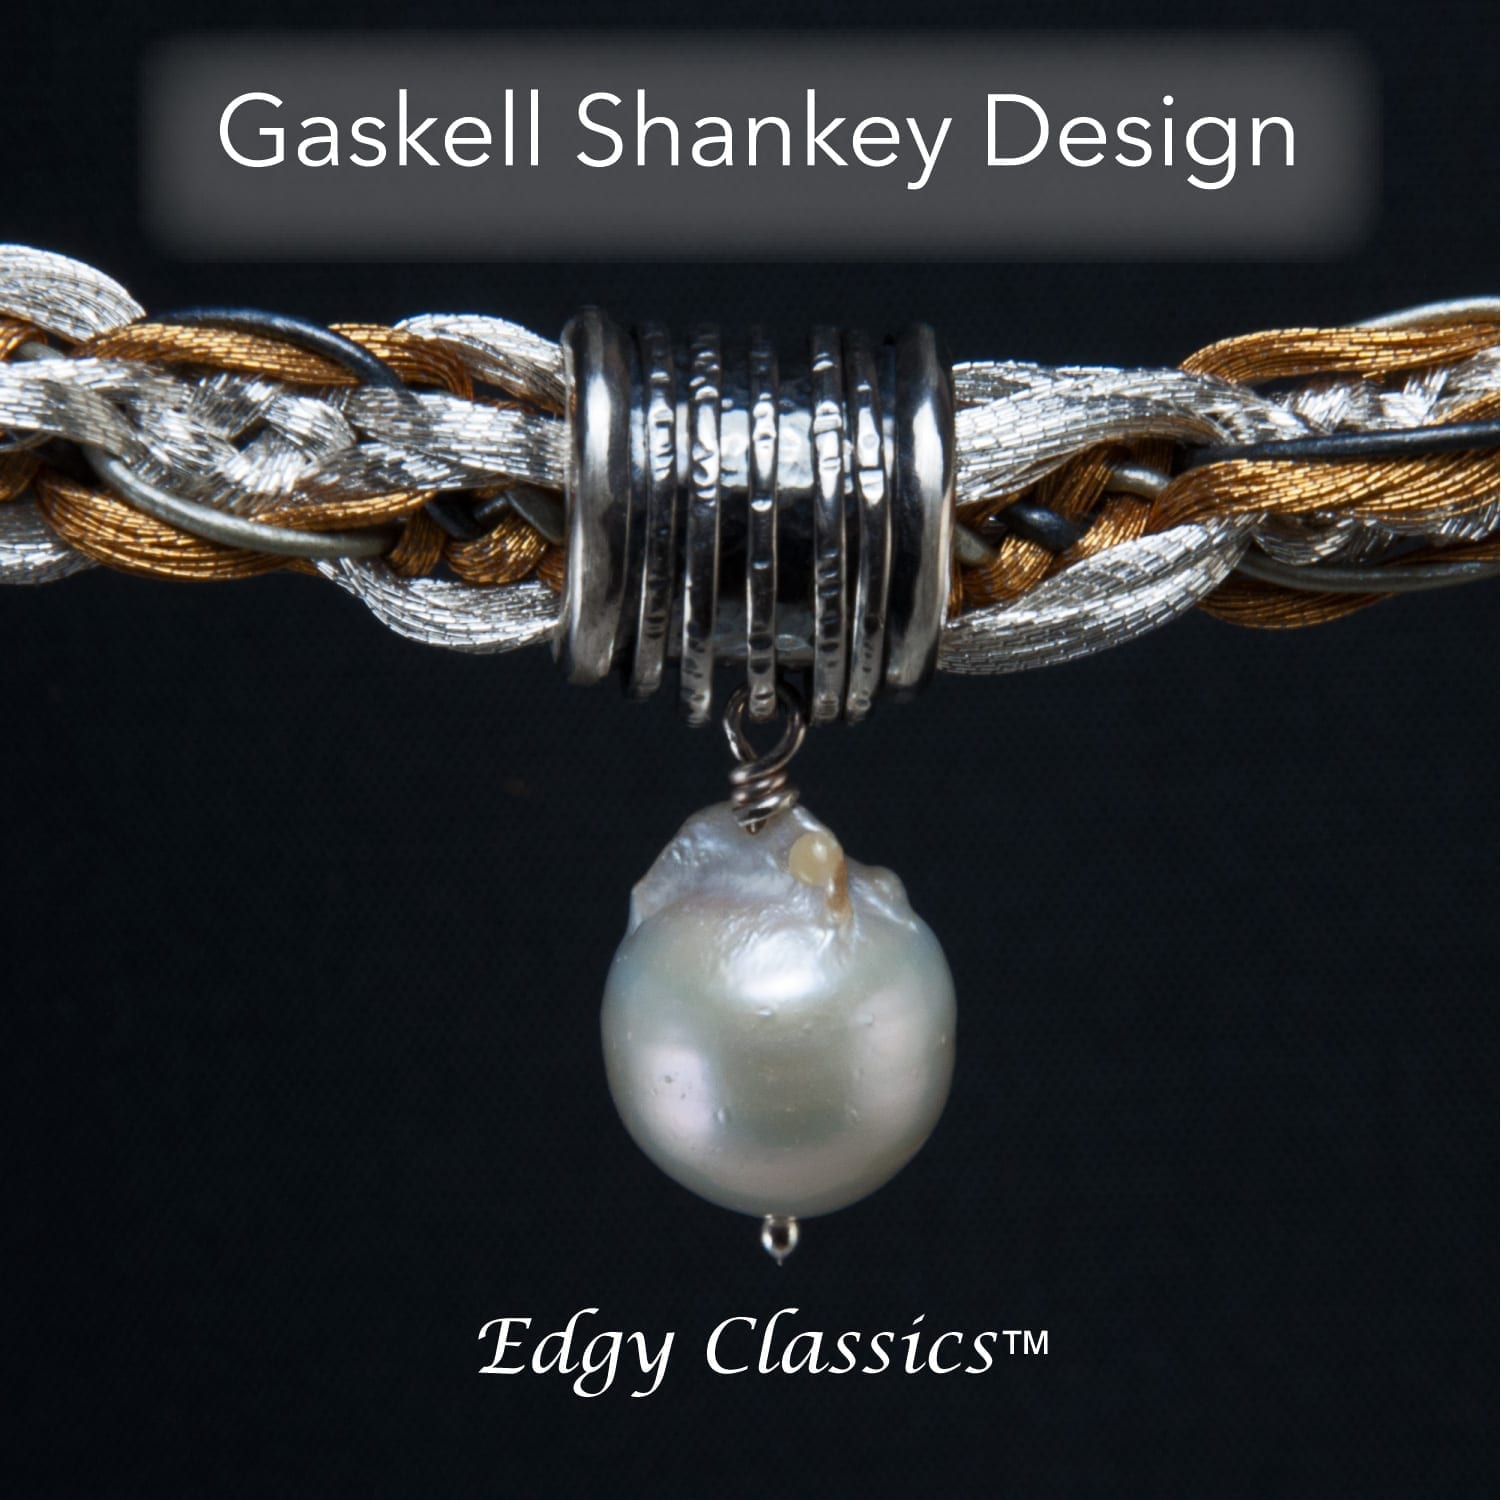
Adrienne Gaskell
Thank you so much!